
In today’s digital age, photos are more than just memories; they’re chronicles of our lives. Google Photos offers a convenient way to store and access these precious moments, but what if you want a physical backup on a USB flash drive? Here’s a comprehensive guide on transferring your Google Photos collection to a reliable USB drive.
Before You Begin: Choosing the Right USB Drive
While the transfer process itself is straightforward, ensuring the longevity of your photos requires some planning. Here are key factors to consider when selecting a USB flash drive:
- Storage Capacity: Consider the number of photos you plan to transfer. Google Photos offers free storage for photos under 16 megapixels and videos under 1080p resolution. Check your Google Photos storage usage to estimate the required drive size.
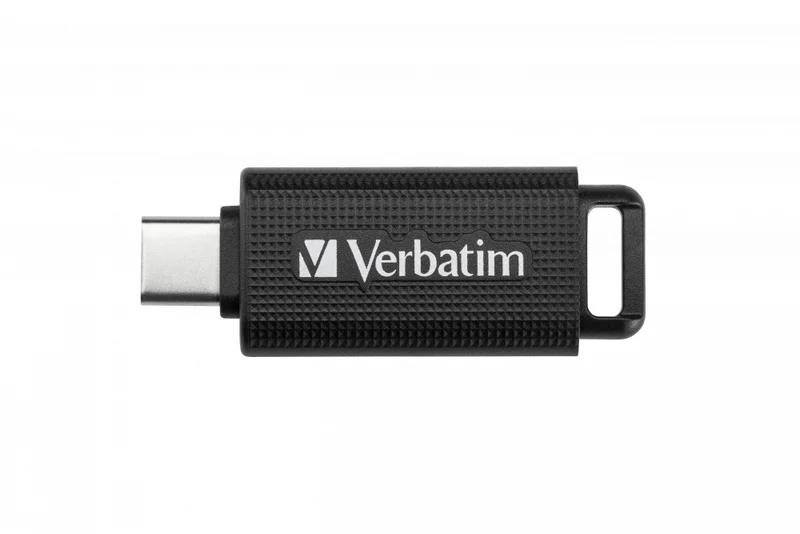
- Speed: Opt for a USB 3.0 or later flash drive for faster transfer speeds, especially if you’re dealing with a large collection.
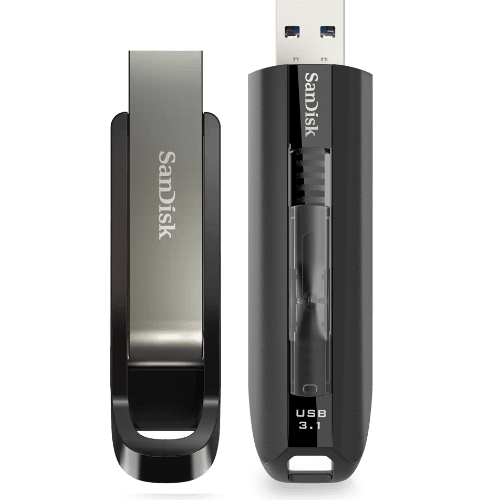
- Durability: Look for a flash drive with a metal casing or a protective cap to safeguard against physical damage.

Transferring Your Google Photos to a USB Drive
There are two primary methods for transferring your Google Photos to a USB flash drive: using a web browser on your computer or the Google Photos app on your mobile device.
Method 1: Transferring via Web Browser
-
Access Google Photos: Head over to and log in to your Google account.
-
Select Photos: There are two ways to choose photos for transfer. For individual photos, click on the desired picture to select it. A checkmark will appear in the top left corner. To select multiple photos, hold down the Ctrl key (Windows) or Command key (Mac) while clicking on each photo.
-
Download Selected Photos: Once you’ve chosen your photos, locate the three vertical dots in the top right corner of the screen. Click on them to reveal a menu. From the menu, select “Download.”
-
Customize Download Options: A pop-up window will appear with additional options. Here, you can choose the file size and format of your downloaded photos. For maximum quality, select “Original” under size and “JPEG” under format. However, this might require more storage space on your USB drive.
-
Download and Locate: Click the “Download” button to initiate the download process. The downloaded photos will be compressed into a ZIP file. Locate the downloaded ZIP file on your computer.
-
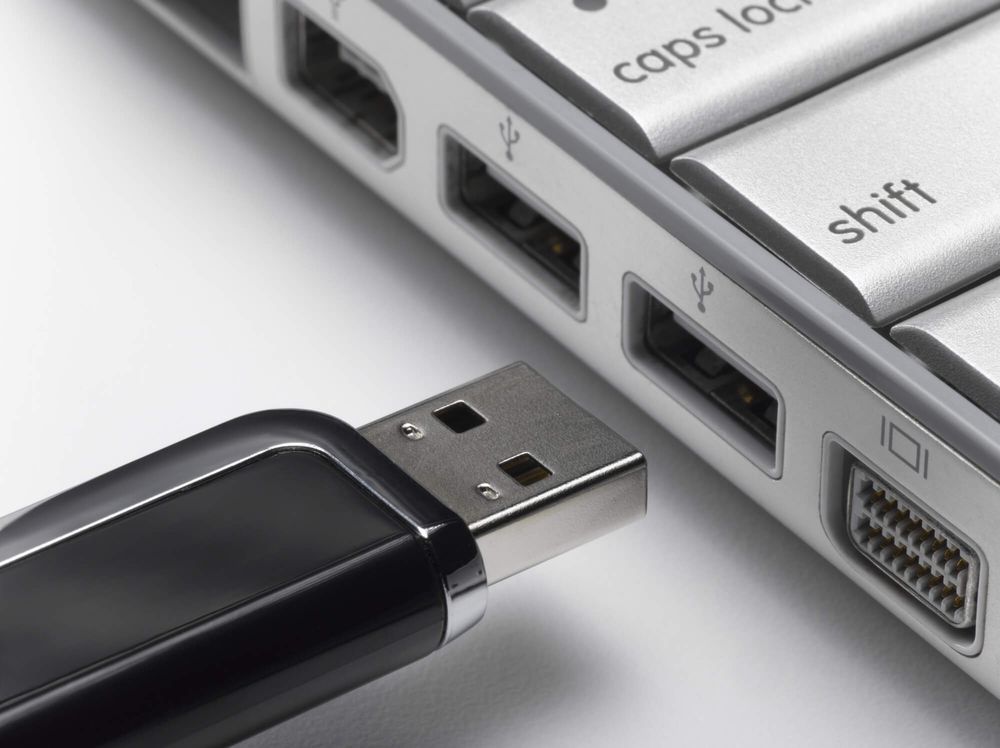
Connect and Transfer: Ensure your USB flash drive is securely plugged into your computer’s USB port. Open the downloaded ZIP file and select all the photos within it. Right-click and choose “Cut” or “Copy.” Navigate to your USB flash drive’s folder on your computer (it might be labeled with the drive’s name). Right-click again and choose “Paste” to transfer the photos onto the USB drive.
Method 2: Transferring via Google Photos App (Mobile)
While the mobile app offers limited functionality compared to the web browser version, you can still transfer individual photos to your USB drive using an adapter. Here’s how:
-
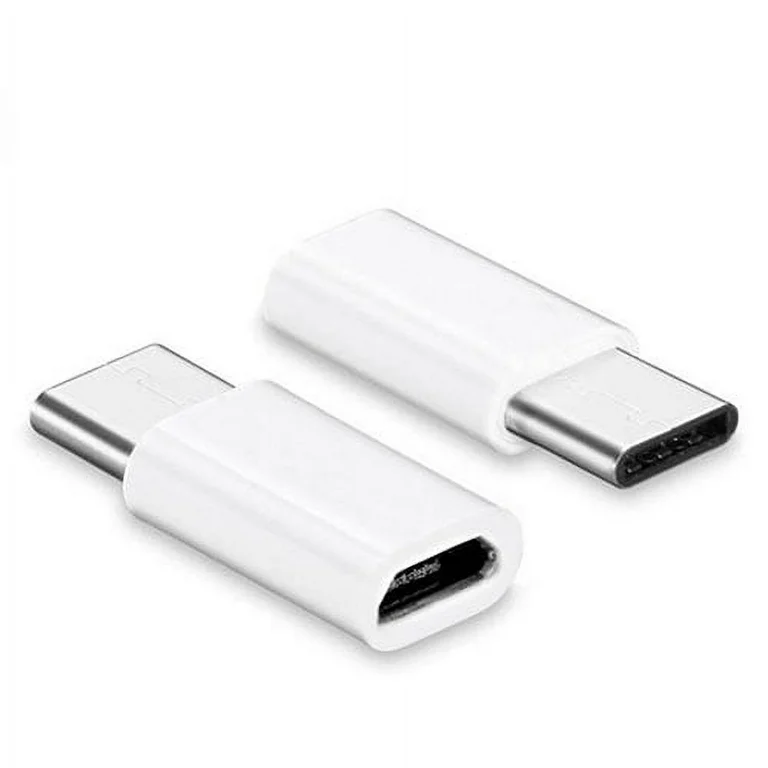
Connect USB Drive: You’ll need a USB flash drive adapter that’s compatible with your phone’s charging port (e.g., USB-C to USB-A adapter). Connect the adapter to your phone and then plug the USB flash drive into the adapter.
-
Open Google Photos App: Launch the Google Photos app on your phone.
-
Select Photo: Locate the photo you want to transfer and tap on it to open it in full view.
-
Download and Share: Tap the three vertical dots in the top right corner. From the menu, select “Download” to save the photo to your phone’s storage.
-
Locate Downloaded Photo: Downloaded photos are typically saved in the “Downloads” folder on your phone. Open a file manager app to locate the downloaded photo.
-
Transfer to USB Drive: Within your file manager app, navigate to the “Downloads” folder and locate the downloaded photo. Long-press on the photo to select it. You might see a “Copy” or “Move” option depending on your phone’s operating system. Choose the appropriate option.
-
Access USB Drive Storage: On your phone, navigate to the storage location of your USB flash drive (it might be labeled with the drive’s name). Long-press on an empty space within the folder and choose “Paste” to transfer the photo to the USB drive.
Additional Tips for a Smooth Transfer
-
Organize Before Transfer: If you have a large collection of photos, consider organizing them into albums within Google Photos before downloading. This will make it easier to manage and transfer specific groups of photos.
-
Transfer in Batches: For very large photo libraries, transferring them in smaller batches can help prevent errors and make the process more manageable.
-
Label Your Drive: Once you’ve transferred your photos, label your USB flash drive clearly. Include information like the date of the transfer or the content on the drive for easy identification.
-
Consider Cloud Storage: While USB flash drives are a convenient option, they are susceptible to physical damage or loss. For an extra layer of security, consider backing up your photos to a cloud storage service alongside the USB drive.
Choosing Between Download Quality and Storage Space
As mentioned earlier, the download options allow you to choose the size and format of your downloaded photos. Here’s a breakdown of the trade-offs:
Original Size:
This option preserves the highest quality of your photos, ideal for printing or professional use. However, it requires the most storage space on your USB drive.
Storage saver:
This option reduces the file size of your photos while maintaining a good balance between quality and storage efficiency. It’s suitable for everyday use and sharing.
High quality:
This option offers a slightly smaller file size compared to “Original” but with a minor quality reduction. It’s a good compromise for those who want to save space without sacrificing too much quality.
Ultimately, the best choice depends on your individual needs and the storage capacity of your USB drive.
Transferring your Google Photos to a USB flash drive provides a physical backup of your cherished memories. By following the steps outlined above and considering the additional tips, you can ensure a smooth and successful transfer process. Remember, whether you choose the web browser or mobile app method, the key is to plan ahead, select the right USB drive, and organize your photos for efficient transfer. With a little preparation, you can create a reliable backup of your irreplaceable memories.

