Thinking of giving your computer a performance boost? Upgrading your traditional hard disk drive (HDD) to a solid state drive (SSD) is one of the most impactful changes you can make. SSDs offer significantly faster boot times, quicker application loading, and overall snappier system responsiveness. This guide will walk you through the process of installing an SSD, from selecting the right drive to migrating your data and setting up the new SSD.
Before You Begin: Choosing the Right SSD
There are a few key factors to consider when selecting an SSD:
- Capacity: SSDs typically come in smaller capacities than HDDs. Consider how much storage you need for your operating system, programs, and files.
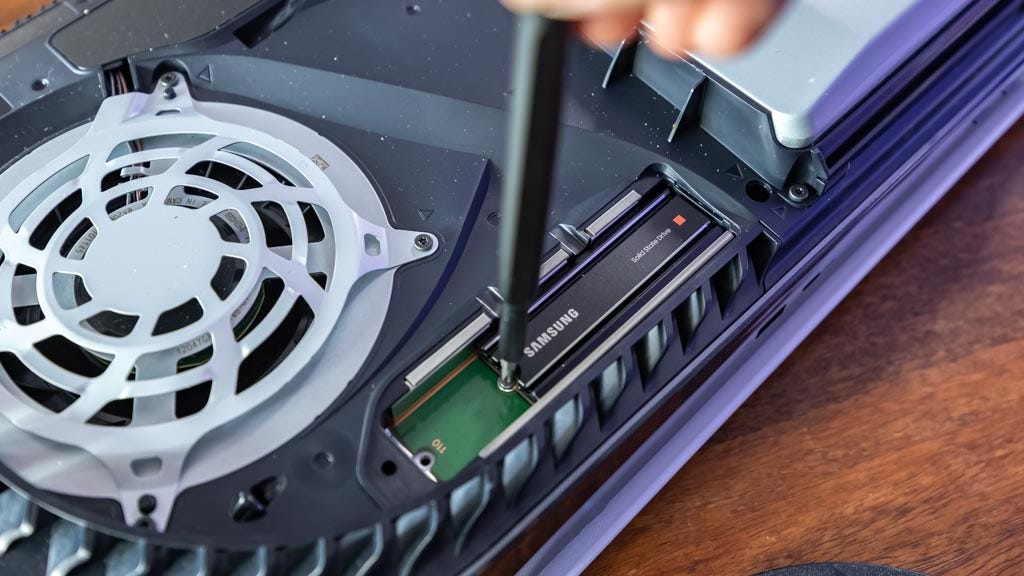
- Form Factor: Ensure the SSD matches the size and connection type of your computer’s storage bay. Common form factors include 2.5-inch SATA and M.2. Your computer’s manual or a system information tool can help identify the compatible form factor.
- Interface: Most modern computers use SATA III (6 Gbps) for connecting storage drives. However, some newer systems may utilize the even faster NVMe interface. Check your motherboard’s documentation to confirm compatibility.
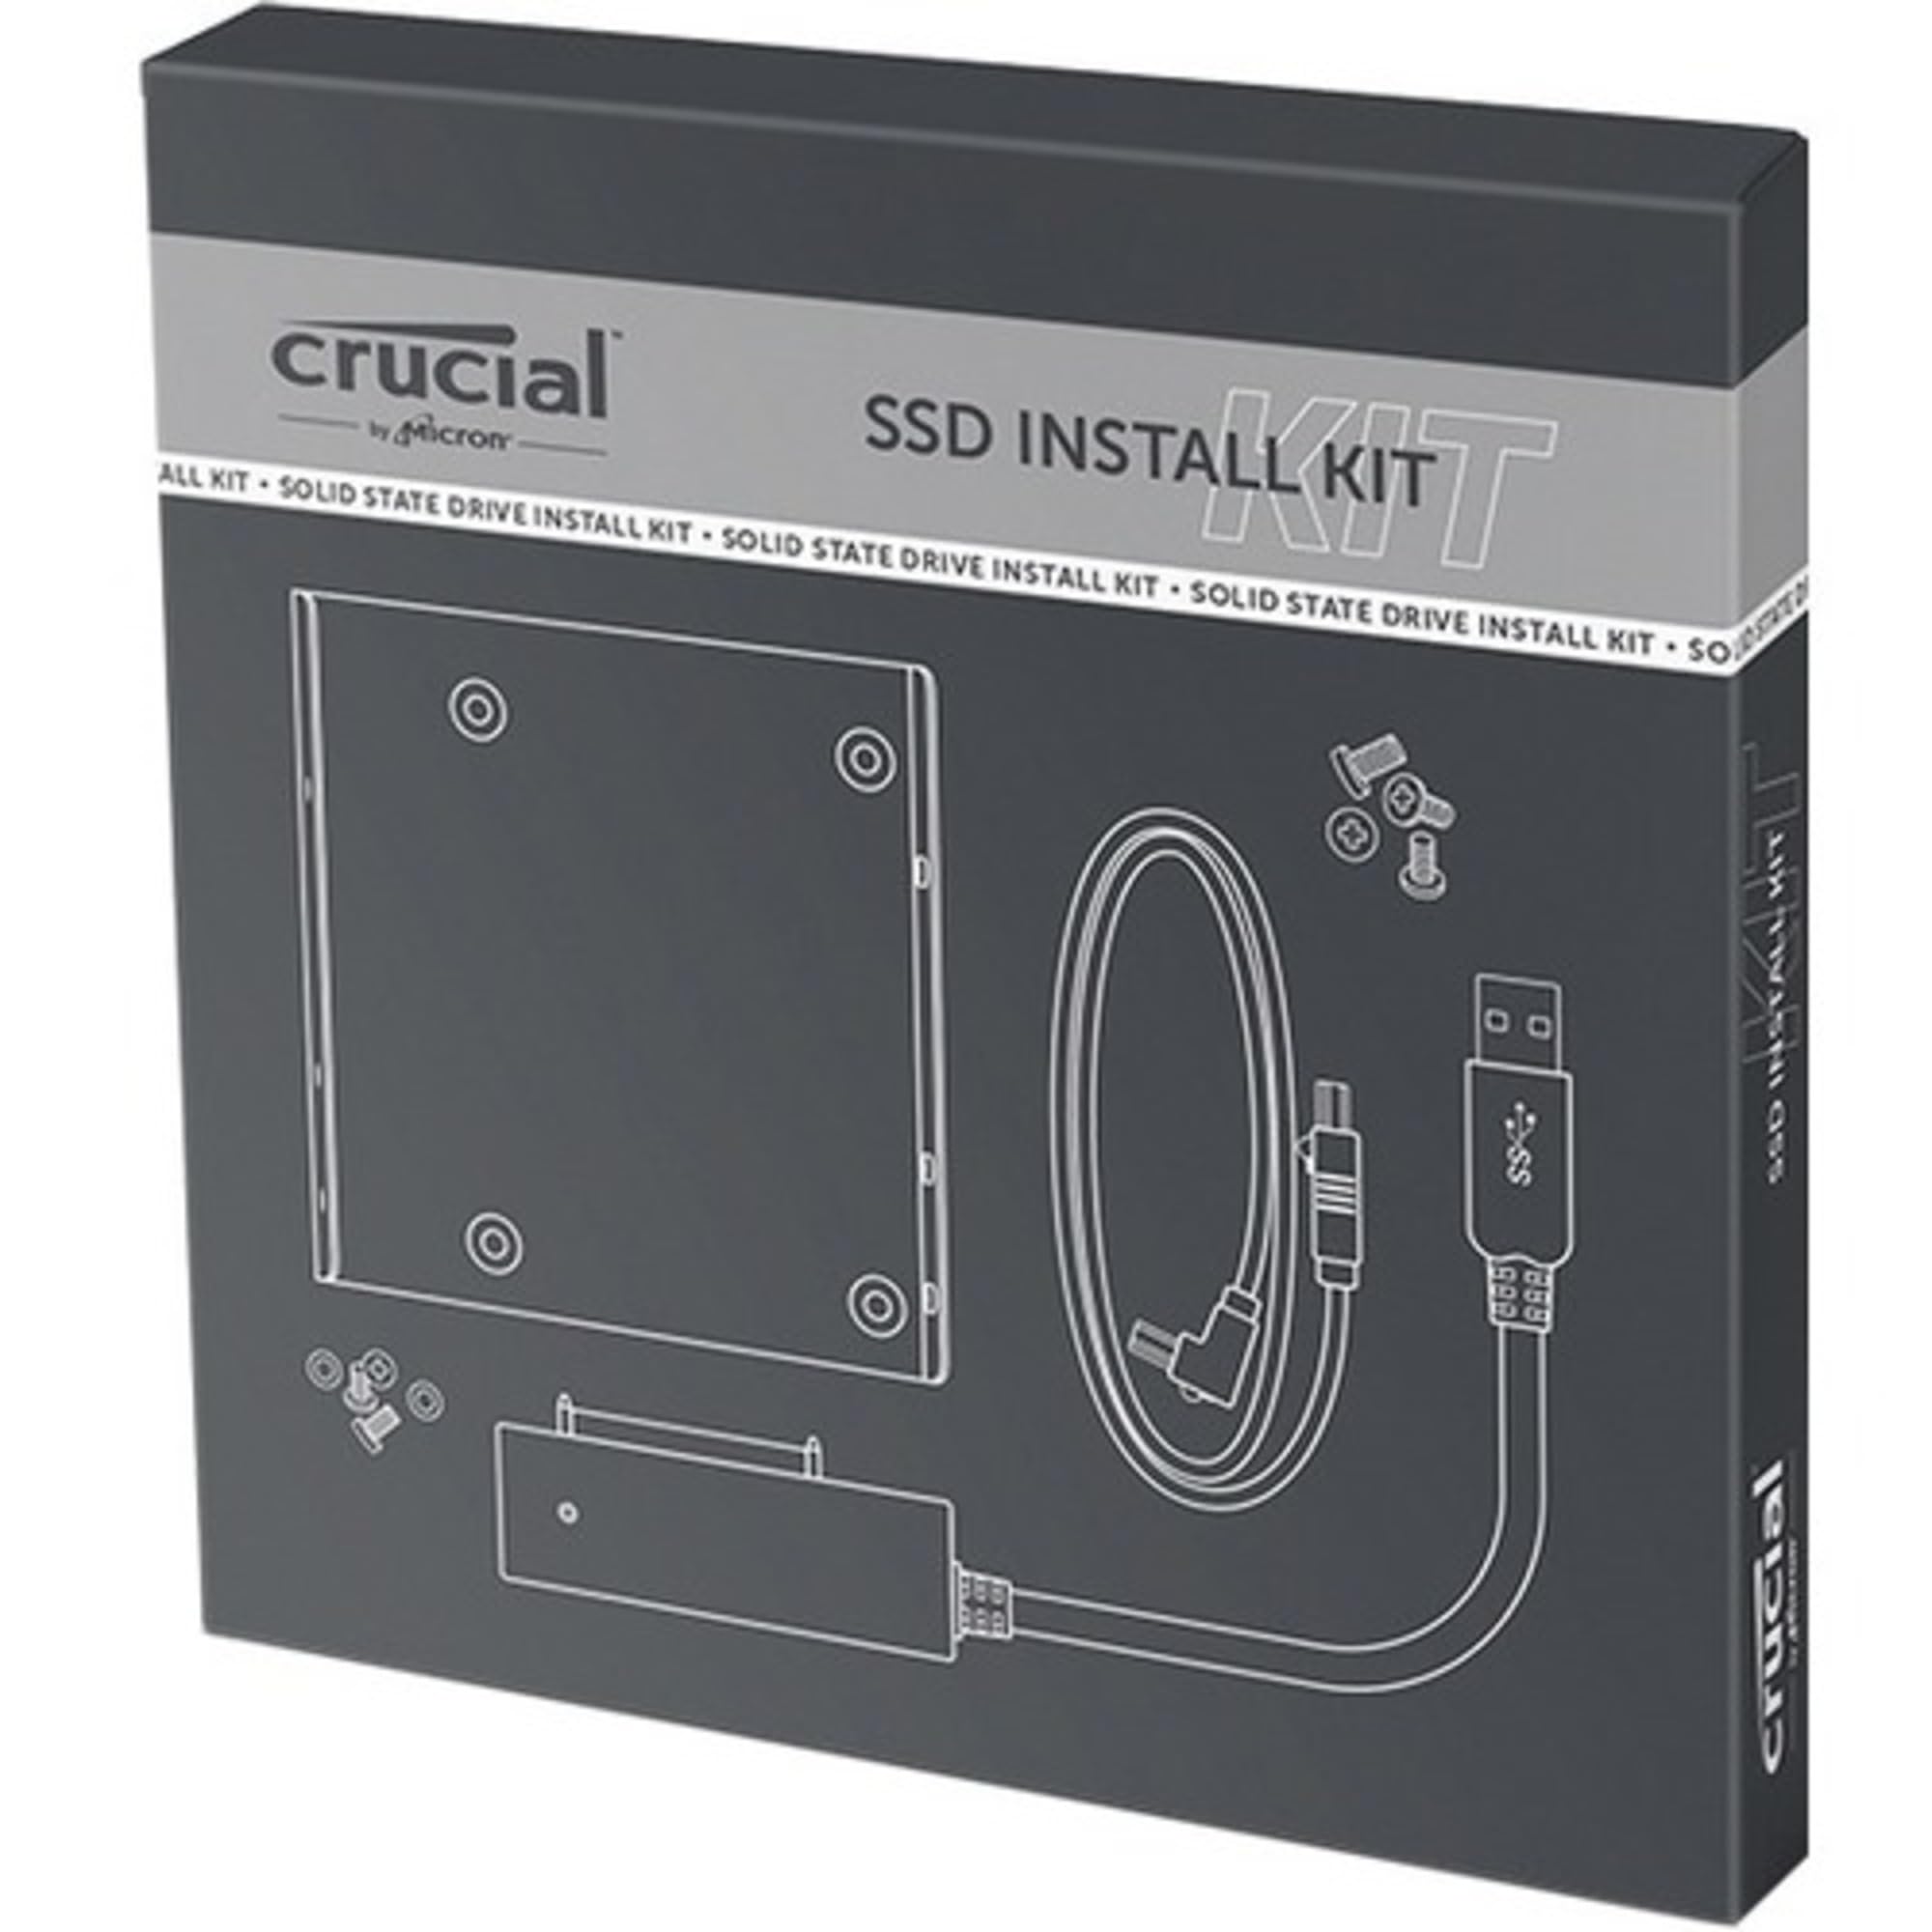
Once you’ve chosen the appropriate SSD, gather the necessary tools:
- A small Phillips head screwdriver
- Anti-static wristband (optional, but recommended)
Preparing for the Installation
- Back Up Your Data: This is crucial. An SSD installation process typically erases the existing drive. Use an external hard drive or cloud storage to create a complete backup of your important files, programs, and operating system.
- Power Down and Disconnect: Turn off your computer and unplug it from the power source. Additionally, remove any peripherals connected to your system.
- Open the Case: Most desktop computers have a side panel that can be unscrewed to access the internals. Consult your computer’s manual for specific instructions on opening the case. Laptops may require removing the back panel or the bottom cover, depending on the model.
Installing the SSD
- Locate the Storage Bay: Identify the empty storage bay or the one currently occupied by your HDD. It will typically be a metal cage with a connector slot.
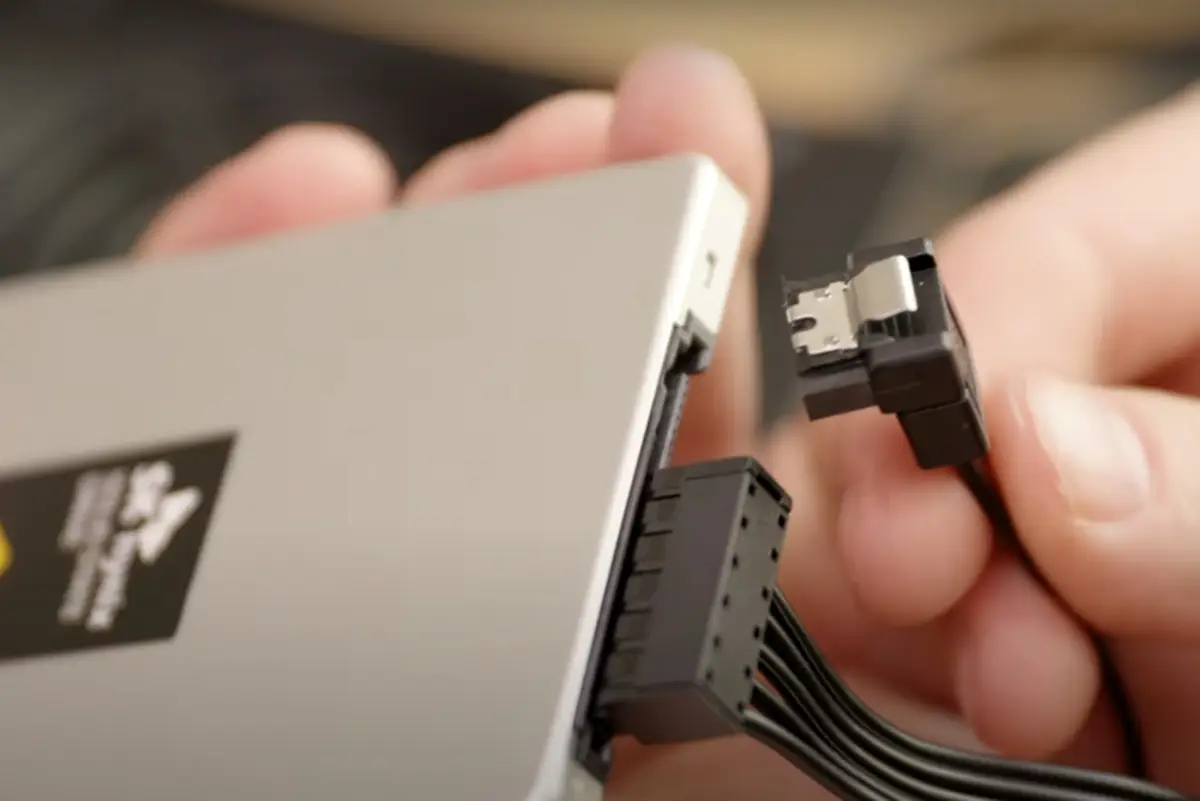
- Remove the Existing Drive (if applicable): If you’re replacing an HDD, locate the data and power cables connected to it. Disconnect the cables carefully and then unscrew the mounting screws holding the drive in place. Gently remove the HDD.
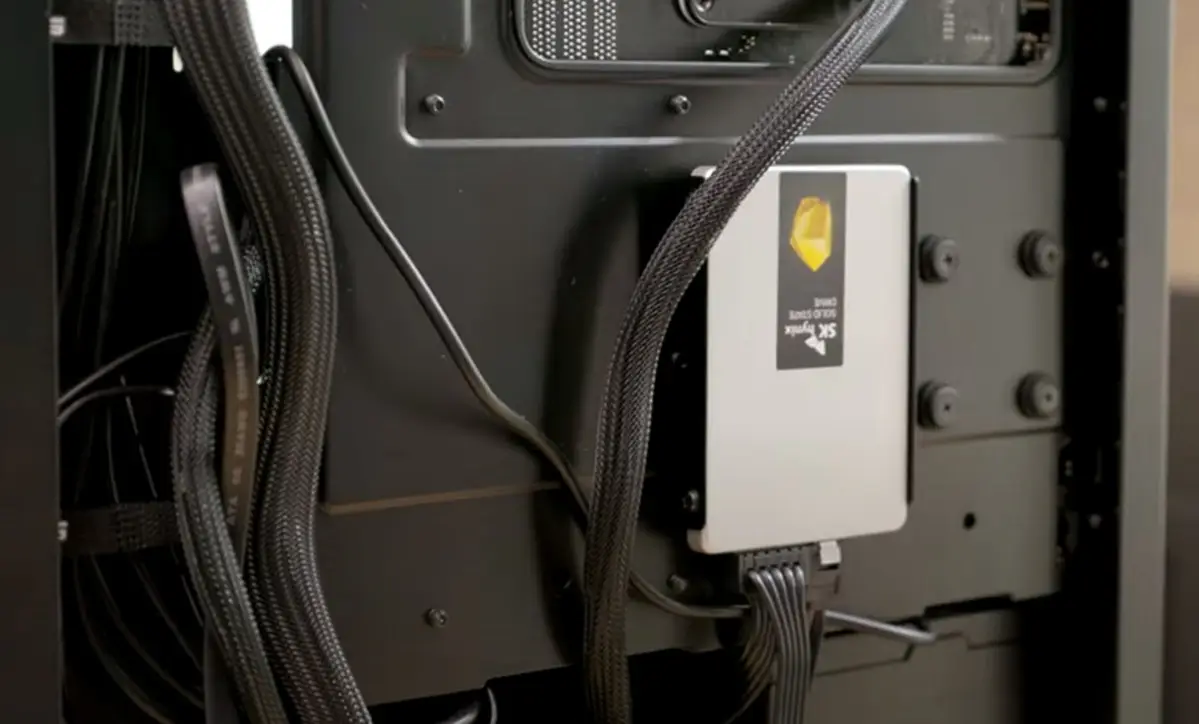
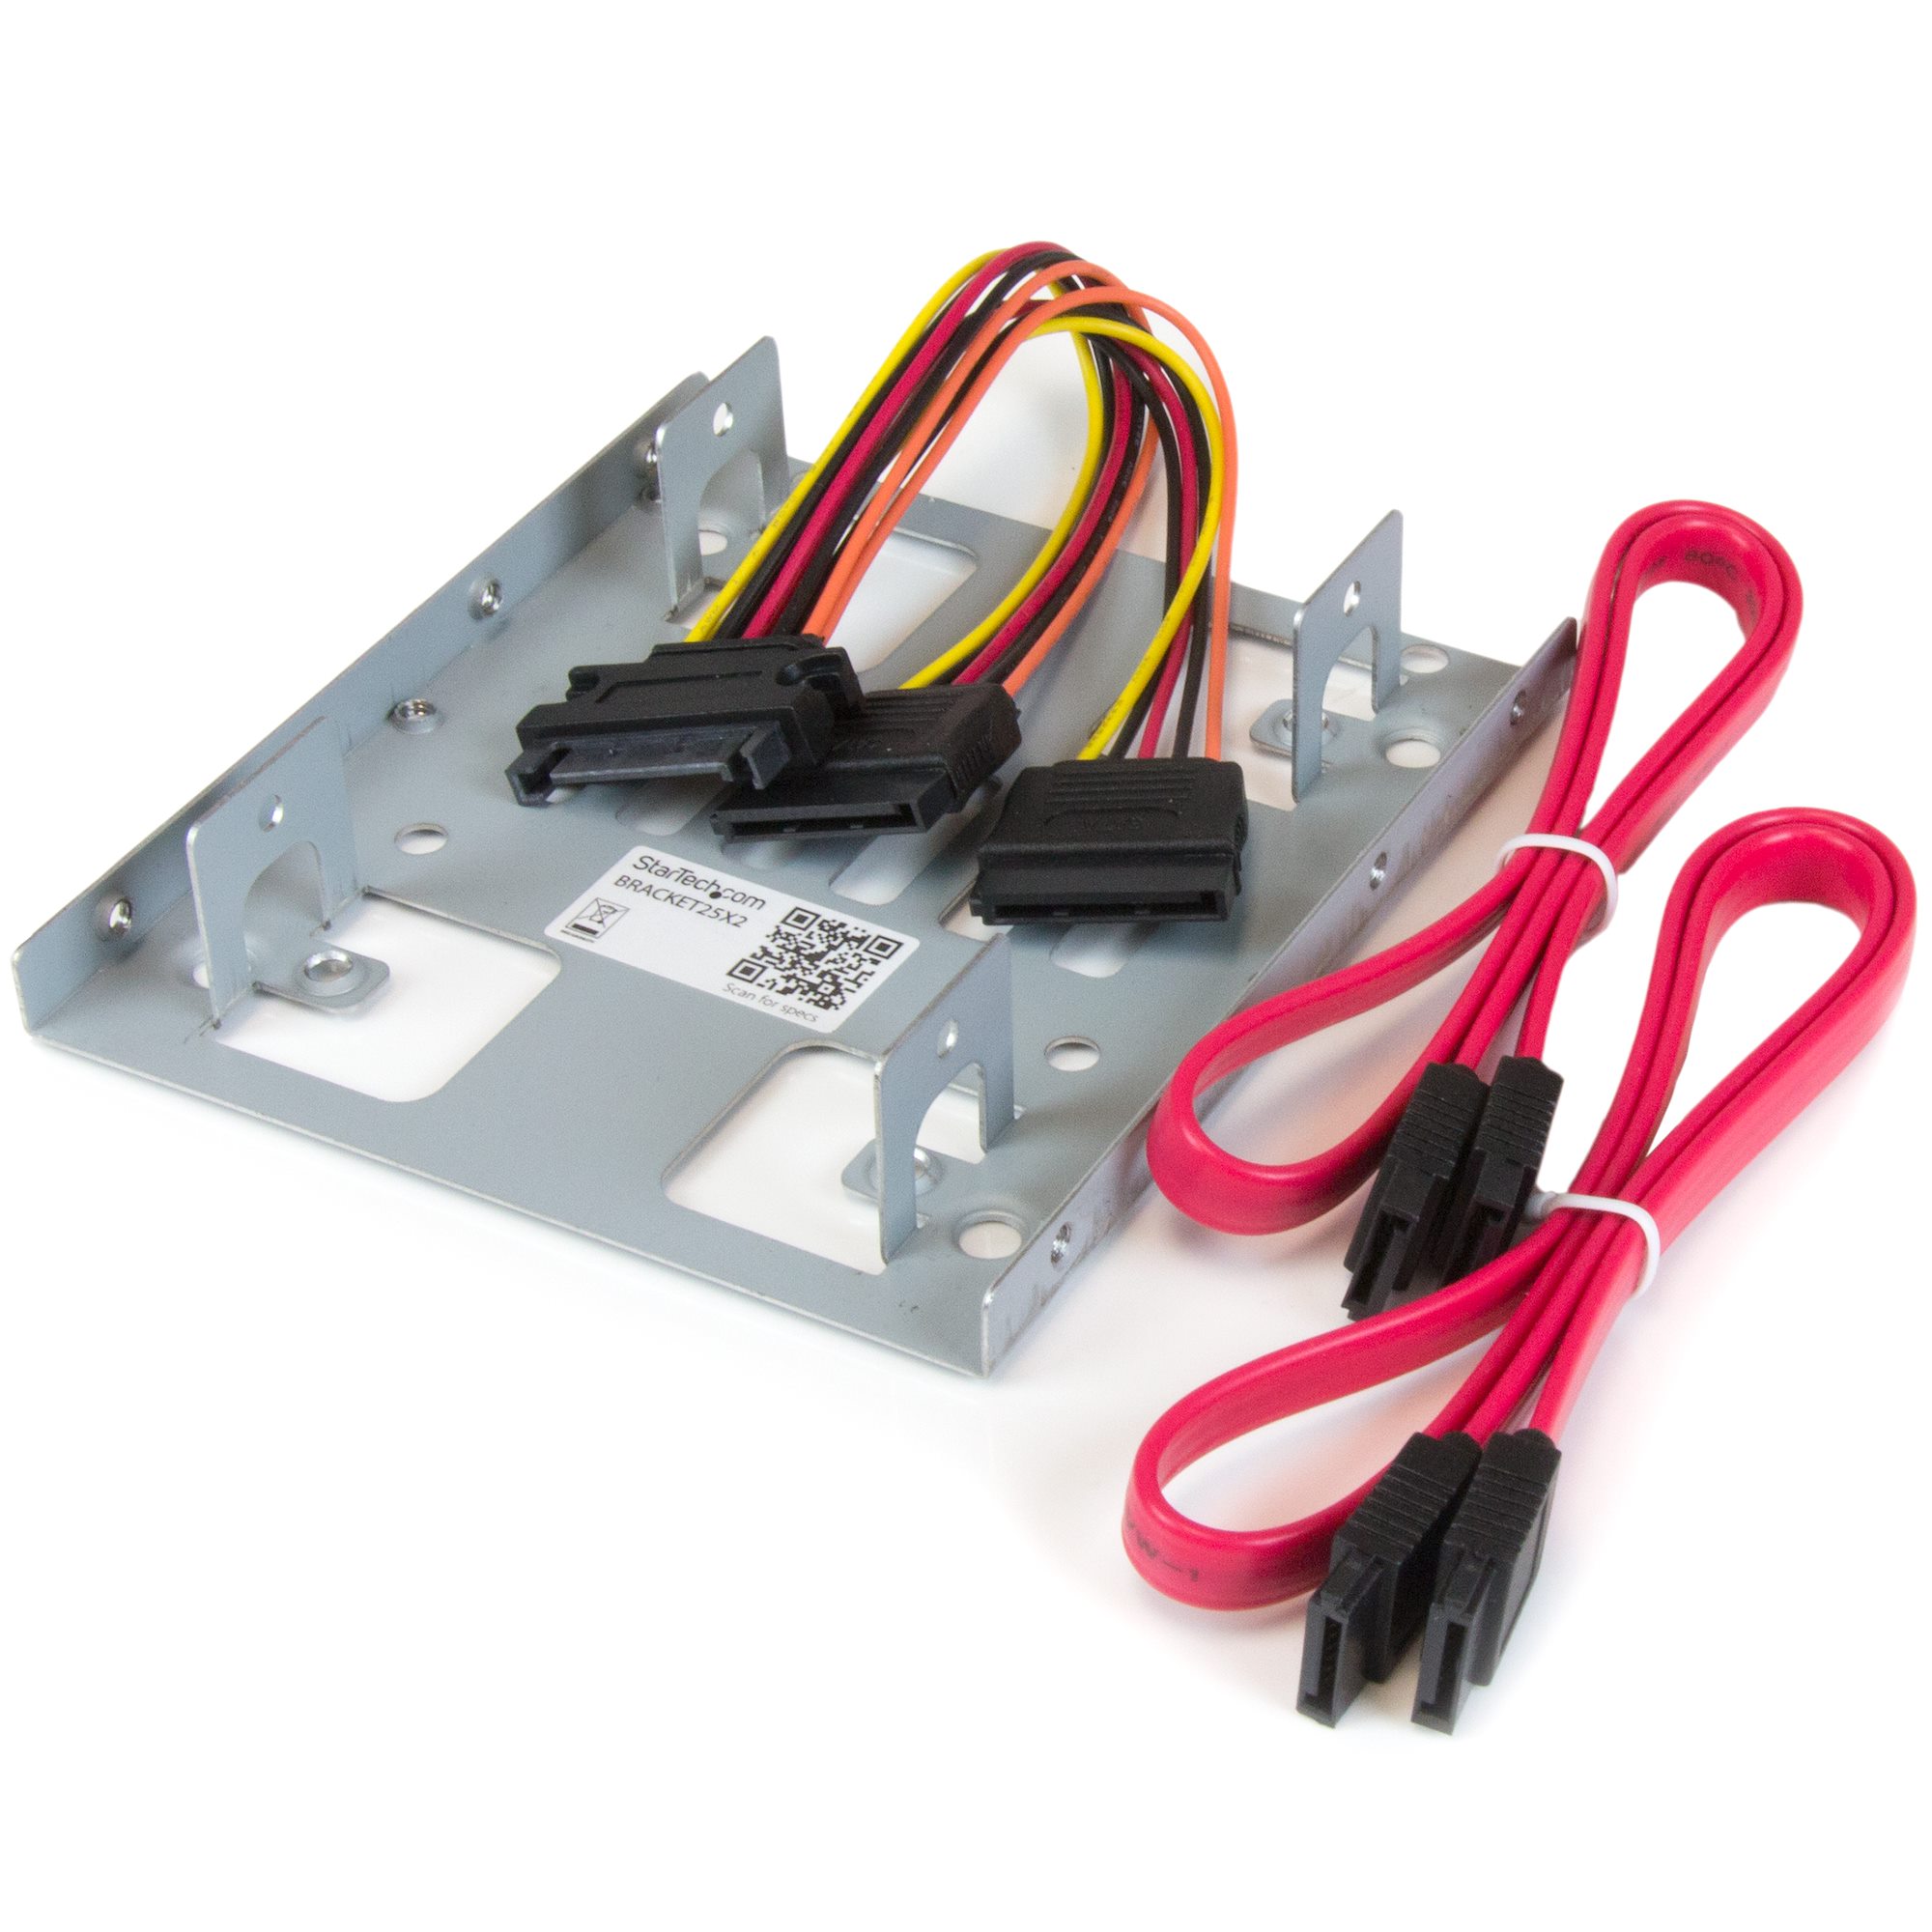
- Mount the SSD: Position the SSD securely in the storage bay, aligning the screw holes. Use the provided mounting screws (or the screws from the removed HDD) to fasten the SSD firmly in place.
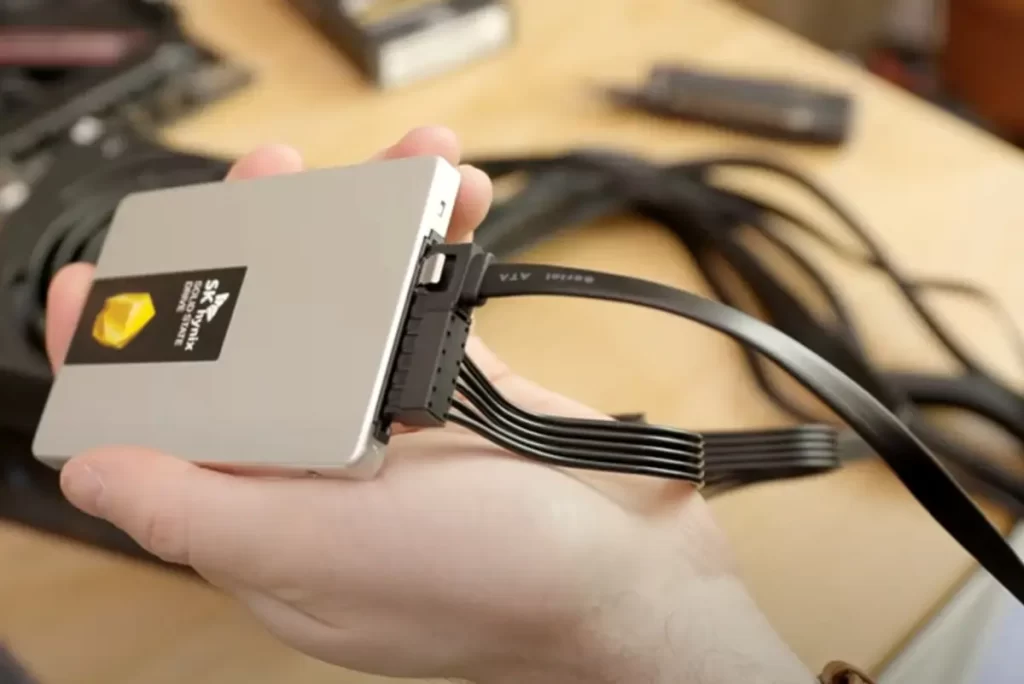
- Connect the Cables: Connect the SATA data cable to the corresponding SATA connector on your motherboard. Similarly, connect the SATA power cable from your power supply unit to the power connector on the SSD. Double-check all cable connections for a snug fit.
Setting Up the SSD
- Close the Case: Securely reattach the side panel or back cover of your computer.
- Reconnect Everything: Plug your computer back into power and reconnect any peripherals you previously removed.
- Power On and Enter BIOS: Turn on your computer. During the initial boot sequence, you’ll need to access the BIOS (Basic Input/Output System) settings. The key to enter BIOS typically appears on the boot screen (e.g., Del, F2, F10). Consult your motherboard manual if unsure.
- Configure Boot Order: Within the BIOS settings, locate the boot options menu. Here, you’ll need to prioritize the newly installed SSD as the primary boot device. The specific navigation and terminology might vary depending on your BIOS version. Look for options like “Boot Order”, “Boot Priority”, or similar.
- Save and Exit BIOS: Once the boot order is configured with the SSD as the first choice, save your changes and exit the BIOS settings. Your computer will typically restart automatically.
Migrating Your Data (Optional):
If you’re not comfortable with a clean install (wiping your old drive and starting fresh), you can migrate your operating system and data to the new SSD. Several methods exist for data migration, including using manufacturer-provided software with some SSDs or relying on third-party cloning tools. Carefully follow the chosen method’s instructions to ensure a successful data transfer.
Post-Installation Tasks
- Format the Old Drive (Optional): If you haven’t migrated your data, you can now format the old HDD to erase any remaining information. This is typically done through your operating system. Following a non-migration approach, you can now format the old HDD to erase any remaining information. This is usually done through your operating system’s disk management tool.
- Enjoy the Performance Boost! Restart your computer and experience the snappier performance offered by your new SSD. Boot times, application launches, and overall system responsiveness should be noticeably improved.
Additional Tips
- Anti-Static Precautions: While not essential, using an anti-static wristband can help prevent accidental electrostatic discharge (ESD) that could damage your computer’s delicate components. If you don’t have a wristband, simply touch an unpainted metal part of your computer’s case before handling any internal components to ground yourself.
- Take Your Time: Don’t rush the installation process. Carefully follow each step and ensure all connections are secure before powering on your computer.
- Consult Resources: If you encounter any difficulties during the installation, several resources can help. Your computer manufacturer’s website might offer specific installation guides for your model. Additionally, online tutorials and forums can provide valuable assistance.
Discuss additional steps to take after data transfer is complete
Following a successful data migration to your new SSD, there are a few additional steps you can take to optimize performance and ensure a smooth transition:
1. Verify File Transfer: Once the data transfer is complete, it’s crucial to verify that all your files have migrated correctly to the SSD. Open your file explorer and browse through your documents, applications, and other folders. Look for any missing or corrupted files. If you encounter issues, you might need to selectively re-transfer specific files from your old drive.
2. Update Drivers: Modern SSDs often utilize specific drivers to optimize their performance. Visit your SSD manufacturer’s website and check if there are any driver updates available for your specific model. Download and install any compatible drivers to ensure your SSD functions at its peak potential.
3. Disable Hibernation: While hibernation puts your computer into a low-power state while preserving your work session, it relies heavily on traditional HDDs. Since SSDs have no moving parts and boot much faster, hibernation offers minimal benefit. Disabling hibernation can free up some storage space on your SSD and potentially improve boot times slightly. Instructions for disabling hibernation vary depending on your operating system. You can typically find them through a web search for “[Your Operating System] disable hibernation”.
4. Optimize for SSDs: Some operating systems offer settings specifically designed to enhance SSD performance. For instance, Windows 10 has a feature called “Trim” that helps maintain optimal SSD health. To enable Trim on Windows, open the command prompt as administrator and type in the following command: “fltmc /automatic /optimize [Drive Letter of your SSD]” (Replace [Drive Letter] with the actual letter assigned to your SSD).
5. Consider Formatting the Old Drive (Optional): If you’ve successfully migrated your data and no longer require the information on your old HDD, you can format it. Formatting erases all data on the drive and prepares it for future use (like external storage). However, ensure you have no remaining files you need before proceeding. Formatting is typically done through your operating system’s disk management tool.
By following these additional steps after data transfer, you can ensure your new SSD operates optimally and provides a significant performance boost to your computer.
Upgrading to an SSD is a relatively straightforward process that can significantly enhance your computer’s performance. By following these steps and taking the necessary precautions, you can successfully install your new SSD and enjoy a faster, more responsive system.