
Storing your photos in iCloud is a convenient way to keep them accessible across all your Apple devices. However, as your photo library grows, you may find that iCloud storage is becoming limited. In this case, transferring your photos to an external hard drive can be a practical solution. This guide will walk you through the process of moving photos from iCloud to an external hard drive, ensuring you have a safe and reliable backup.
Preparing Your External Hard Drive
Before you begin, ensure your external hard drive is compatible with your Mac or iOS device. Most modern external hard drives are compatible, but it’s always best to check the specifications. Additionally, make sure your external hard drive is formatted in a compatible file system, such as APFS (Apple File System) or HFS+ (Hierarchical File System Plus).
- Connect Your External Hard Drive: Plug your external hard drive into your Mac or iOS device using the appropriate cable.
- Format (if necessary): If your external hard drive is not already formatted in a compatible file system, you’ll need to format it. This will erase all existing data on the drive, so make sure you have a backup of any important files.
Downloading Photos from iCloud to Your Mac
- Open Photos App: On your Mac, launch the Photos app.
- Check iCloud Settings: Go to Photos > Preferences and ensure that iCloud Photos is enabled.
- Download Photos: Click on the Photos tab in the sidebar, then select the albums or folders you want to download. Right-click on the selected items and choose Download Originals.
- Choose Destination: When prompted, select your external hard drive as the destination for the downloaded photos.
- Wait for Download: The Photos app will begin downloading the selected photos to your external hard drive. The download time will depend on the number of photos and your internet connection speed.
Transferring Photos from Your iPhone or iPad to an External Hard Drive
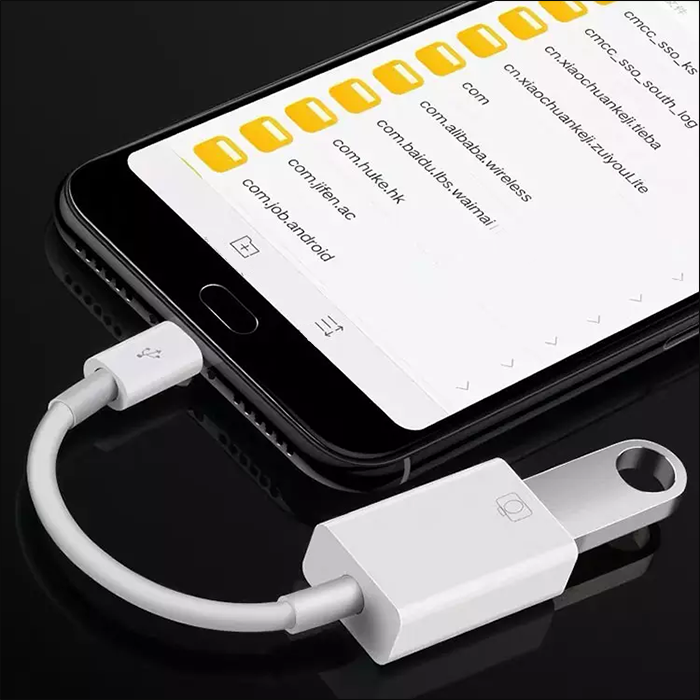
- Connect Your iPhone or iPad: Connect your iPhone or iPad to your Mac using a Lightning to USB cable.
- Open Photos App: On your Mac, launch the Photos app.
- Import Photos: In the Photos app, click on the Import button in the top-right corner.
- Select Photos: Choose the photos or albums you want to import from your iPhone or iPad.
- Choose Destination: Select your external hard drive as the destination for the imported photos.
- Wait for Import: The Photos app will begin importing the selected photos to your external hard drive.
Connecting External Hard Drive
Connecting an external hard drive to your computer is a straightforward process, but the exact steps may vary slightly depending on your computer’s operating system and the type of connection port on your hard drive.
Common Connection Types:
- USB: This is the most common type of connection for external hard drives. USB ports are typically found on the back or sides of computers.
- Thunderbolt: This high-speed connection is often used for high-performance devices like external hard drives and displays.
- FireWire: While less common nowadays, FireWire connections are still used for some older devices.
Steps to Connect an External Hard Drive:
- Identify the Connection Port: Locate the appropriate connection port on your computer and external hard drive.
- Connect the Cable: Plug the cable from your external hard drive into the matching port on your computer.
- Power On (If Necessary): If your external hard drive requires external power, plug it into a power outlet.
- Wait for Recognition: Your computer’s operating system should automatically recognize the new device and display a notification or prompt.
Troubleshooting:
- Check Connections: Ensure that the cables are securely plugged into both the computer and the external hard drive.
- Try a Different Port: If your computer has multiple USB ports, try connecting the hard drive to a different one.
- Update Drivers: If your computer is having trouble recognizing the hard drive, update your USB or Thunderbolt drivers.
- Check for Physical Damage: Inspect the cables and connectors for any signs of damage.
Additional Tips:
- Label Your Hard Drive: Use a label or marker to clearly identify the contents of your external hard drive.
- Back Up Regularly: Regularly back up important data to your external hard drive to protect against data loss.
- Disconnect When Not in Use: When you’re finished using your external hard drive, unplug it from your computer to prevent accidental damage.
By following these steps and troubleshooting tips, you should be able to successfully connect your external hard drive to your computer.
Additional Tips
- Organize Your Photos: Before transferring your photos, consider organizing them into folders or albums to make them easier to find later.
- Use a Backup Service: While transferring your photos to an external hard drive is a good way to create a backup, consider using a cloud backup service like iCloud Drive or Google Photos for added protection.
- Verify the Transfer: After the transfer is complete, verify that all your photos have been successfully copied to your external hard drive by checking the files on the drive.

Suggestions on how to organize and store backed-up photos
Once you’ve successfully transferred your photos from iCloud to an external hard drive, it’s crucial to organize them for easy access and management. Here are some effective strategies:
Create a Clear Folder Structure
- Year-Based Folders: Create top-level folders for each year to group photos chronologically.
- Event or Trip Folders: Within each year, create subfolders for specific events, trips, or occasions.
- Person-Based Folders: If you have a large number of photos of particular people, consider creating folders for them.
Use Descriptive File Names
- Clear and Concise: Use descriptive file names that accurately reflect the content of the photo. For example, “BirthdayParty_2023.jpg” or “Vacation_Hawaii_2024.png.”
- Consistent Naming Convention: Maintain a consistent naming convention throughout your photo library to make it easier to search and organize.
Utilize Metadata
- Keywords: Add relevant keywords to your photos using the metadata editor in your photo management software. This will make it easier to search for specific photos based on keywords like “beach,” “family,” or “wedding.”
- Location Data: If your photos have location data embedded, you can use this to organize them by location. Many photo management software programs allow you to filter photos based on location.
Regularly Back Up Your External Hard Drive
- Cloud Storage: Consider using cloud storage services like Dropbox, Google Drive, or OneDrive to create a second backup of your photos. This will provide additional protection in case your external hard drive is lost or damaged.
- Timely Backups: Set up a regular backup schedule to ensure your photos are always up-to-date.
Consider Using Photo Management Software
- Organize and Edit: Photo management software like Adobe Lightroom, Apple Photos, or Google Photos can help you organize your photos, edit them, and create albums.
- Search and Filter: These tools often offer advanced search and filtering capabilities, making it easy to find specific photos.
Label and Store Your External Hard Drive
- Clear Labeling: Label your external hard drive clearly with a marker or sticker to identify its contents.
- Safe Storage: Store your external hard drive in a cool, dry place to prevent damage.
By following these guidelines, you can effectively organize and store your backed-up photos on your external hard drive, ensuring easy access and management for years to come.
By following these steps, you can effectively transfer your photos from iCloud to an external hard drive, ensuring that you have a reliable backup of your precious memories. Remember to regularly update your backup and keep your external hard drive in a safe place to protect your photos.

