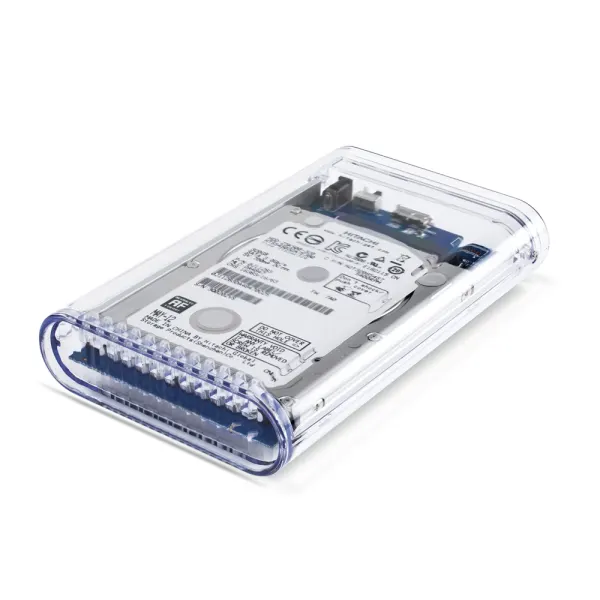
Whether you’re looking to expand your Mac’s storage, create a backup, or transfer files, formatting an external hard drive is a crucial step. This guide will walk you through the process, providing clear instructions and addressing common questions.
Choosing the Right Format
Before we dive into the formatting process, it’s essential to understand the different file systems available for Mac external hard drives:
- APFS (Apple File System): This is the default file system for macOS and offers excellent performance, security, and compatibility with newer Mac models.
- HFS+ (Hierarchical File System Plus): While older, HFS+ is still widely supported and compatible with both Macs and Windows.
- ExFAT: This file system is primarily designed for external drives that need to be shared between Macs and Windows.
The best choice for you depends on your specific needs and the compatibility requirements of your other devices. If you’re primarily using a Mac and don’t need to share the drive with Windows, APFS is generally recommended.
Tips for ensuring the formatting is successful
Here are some tips to help you ensure a successful formatting process for your external hard drive:
Choose a Reliable Drive:
- Quality Matters: Invest in a reputable brand and model known for its reliability and durability.
- Check Reviews: Read customer reviews to get an idea of the drive’s performance and any potential issues.
Use a High-Quality Cable:
- Avoid Data Corruption: A faulty or damaged cable can lead to data corruption during the formatting process.
- Certified Cables: Opt for certified USB cables to ensure compatibility and reliability.
Check for Compatibility:
- Compatible File System: Ensure that the chosen file system (APFS, HFS+, or ExFAT) is compatible with your Mac and any other devices you plan to use with the drive.
Avoid Interruptions:
- Unplug Other Devices: Disconnect any unnecessary devices from your Mac during the formatting process to avoid potential conflicts.
- Let It Finish: Do not interrupt the formatting process by ejecting the drive or shutting down your Mac.
Test Read and Write:
- Create Files: Try to create new files or folders on the drive to ensure that you can read and write data to it successfully.
By following these tips, you can increase the likelihood of a successful formatting process and minimize the risk of errors or data loss.
Formatting Your External Hard Drive
- Connect the Drive: Plug your external hard drive into a USB port on your Mac.
- Open Disk Utility: Launch Disk Utility from your Applications folder.
- Select the Drive: In the sidebar, select the name of your external hard drive.
- Erase the Drive: Click the “Erase” button at the top of the window.
- Choose Format: Select the desired file system (APFS, HFS+, or ExFAT) from the “Format” menu.
- Name the Drive: Give your drive a recognizable name.
- Start the Process: Click the “Erase” button again to begin the formatting process.
Best practices for maintaining the formatted external hard drive
Once you’ve formatted your external hard drive, here are some best practices to follow to ensure its longevity and optimal performance:
Safe Ejection:
- Avoid Sudden Disconnection: Always use the “Eject” icon in Finder or the “Safely Remove Hardware” option in the menu bar before disconnecting the drive. Sudden disconnection can lead to data corruption.
Protect from Physical Damage:
- Handle with Care: Avoid dropping or bumping the drive.
- Store Properly: Keep the drive in a cool, dry place away from extreme temperatures and humidity.
Limit Excessive Writing:
- Minimize Frequent Changes: If possible, avoid frequently writing to and deleting data from the drive. Excessive writing can shorten its lifespan.
Monitor Drive Health:
- Use Monitoring Tools: Some third-party tools can monitor the drive’s health and provide early warnings of potential issues.
By following these best practices, you can help ensure the long-term health and performance of your formatted external hard drive.
Additional Considerations
- Backup Your Data: Before formatting, ensure you have backed up any important data on the drive.
- Verify the Format: After the formatting process is complete, verify that the drive is formatted correctly by checking its properties in Disk Utility.
- Partitioning: If you need to divide your drive into multiple partitions, you can use the “Partition” button in Disk Utility.
- Time Machine: To use your external hard drive for Time Machine backups, make sure it’s formatted with APFS or HFS+ and is connected to your Mac regularly.
Preparing the external hard drive
Before formatting your external hard drive, there are a few essential steps to take to ensure its optimal performance and longevity:
Check for Physical Damage:
- Inspect the Drive: Carefully examine the drive for any visible signs of damage, such as scratches, cracks, or dents.
- Check the Cable: Ensure that the USB cable connected to the drive is undamaged and securely plugged in.
Verify Disk Health (Optional):
- Use Disk Utility: If you’re concerned about the drive’s health, you can use Disk Utility to check for errors and perform a first aid procedure.
- Note: This step is optional but recommended for older or previously used drives.
Back Up Existing Data (Important):
- Protect Your Data: If there’s any data already on the drive, create a backup before proceeding with formatting. This will prevent accidental data loss.
Choose a Suitable Location:
- Consider Environment: Store the drive in a cool, dry place to avoid excessive heat or moisture, which can damage the drive over time.
By following these steps, you’ll be well-prepared to format your external hard drive and ensure its optimal performance for your needs.
Troubleshooting Common Issues
If you encounter problems during the formatting process, try the following troubleshooting steps:
- Check for Physical Damage: Ensure that there are no visible signs of damage to the drive or its cable.
- Try a Different Port: Connect the drive to a different USB port on your Mac.
- Use a Different Cable: If possible, try a different USB cable.
- Check for Disk Utility Errors: Look for any error messages in Disk Utility and try to resolve them.
- Seek Professional Help: If you’re still unable to format the drive, consider seeking assistance from a computer repair professional.
Post-formatting steps
Once you’ve successfully formatted your external hard drive, there are a few additional steps to consider:
Verify the Format:
- Check Disk Utility: Open Disk Utility and ensure the drive is listed with the correct format and name you selected during the formatting process.
- Test Read and Write: Try to create a new folder or file on the drive to confirm that you can write data to it.
Set Up Time Machine (Optional):
- Open Time Machine Preferences: Go to Apple menu > System Preferences > Time Machine.
- Select the Drive: Click the “Select Disk” button and choose your external hard drive.
- Configure Settings: Adjust Time Machine settings as desired, such as backup frequency and history retention.
Transfer Data:
- Copy Files: If you have data to transfer to the drive, use Finder to copy and paste files from your Mac to the external drive.
Consider Encryption:
- Protect Sensitive Data: If you’re storing sensitive data on the drive, consider using FileVault or other encryption methods to protect it from unauthorized access.
Regular Maintenance:
- Run Disk Utility: Periodically run Disk Utility to check for errors and optimize the drive’s performance.
- Back Up the Drive: While your external hard drive is primarily used for backups, it’s still a good practice to create backups of the drive itself, especially if it contains important data.
Disconnect Safely:
- Eject Properly: Always use the “Eject” icon in the Finder or the “Safely Remove Hardware” option in the menu bar before disconnecting the drive to prevent data corruption.
By following these post-formatting steps, you can ensure that your external hard drive is ready for use and protected from potential issues.
Formatting an external hard drive for your Mac is a straightforward process that can significantly enhance your storage capabilities and data management. By following the steps outlined in this guide, you can ensure that your drive is properly configured for your specific needs.