In today’s digital age, our smartphones have become repositories for cherished memories. From breathtaking vacation snaps to candid moments with loved ones, these pictures capture a lifetime’s worth of experiences. But with storage space on phones constantly shrinking, the need to transfer photos to a more permanent location becomes crucial. A USB flash drive offers a convenient and portable solution for safeguarding your digital memories.
This guide will walk you through the process of transferring pictures from your Android phone to a USB flash drive, equipping you with the knowledge to preserve your irreplaceable photos.
Gear Up: What You’ll Need
Before diving in, ensure you have the following:
- Your Android phone: This is the source of your treasured photos.
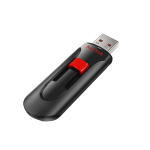
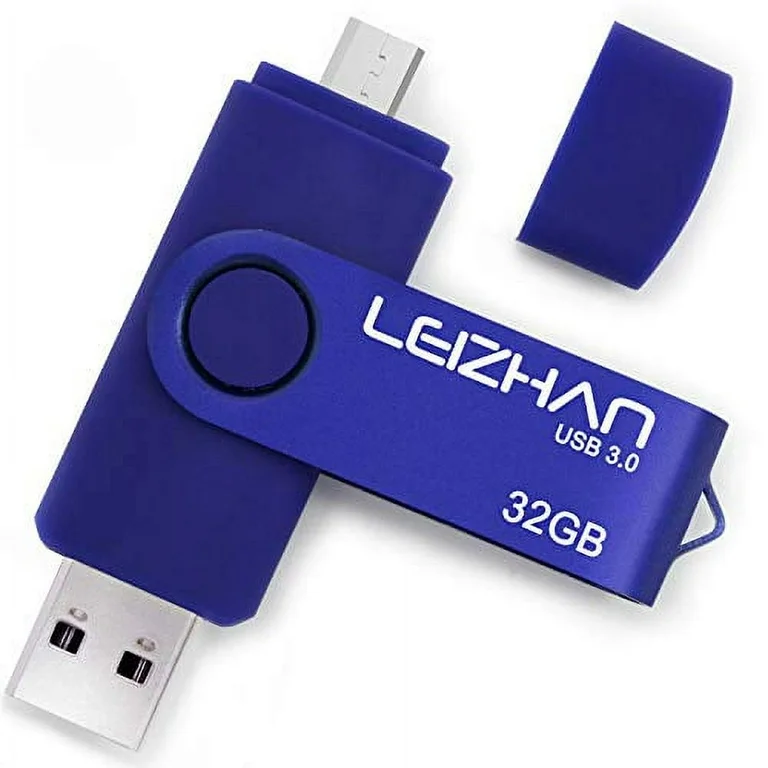
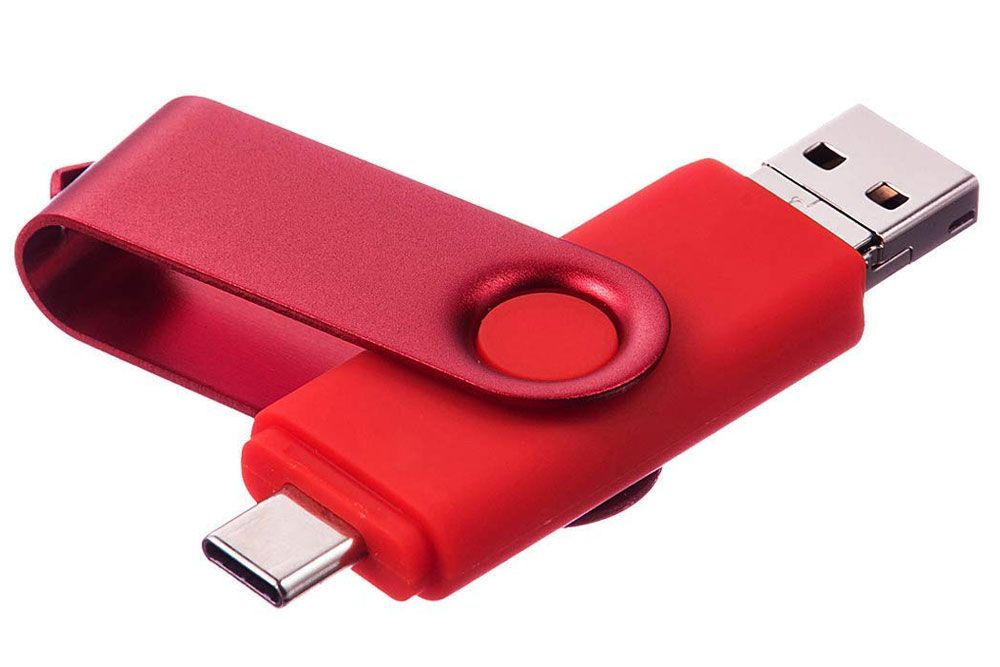
- A USB flash drive: Choose one with enough storage capacity to accommodate your desired photos. Consider factors like the number of pictures and their file sizes.
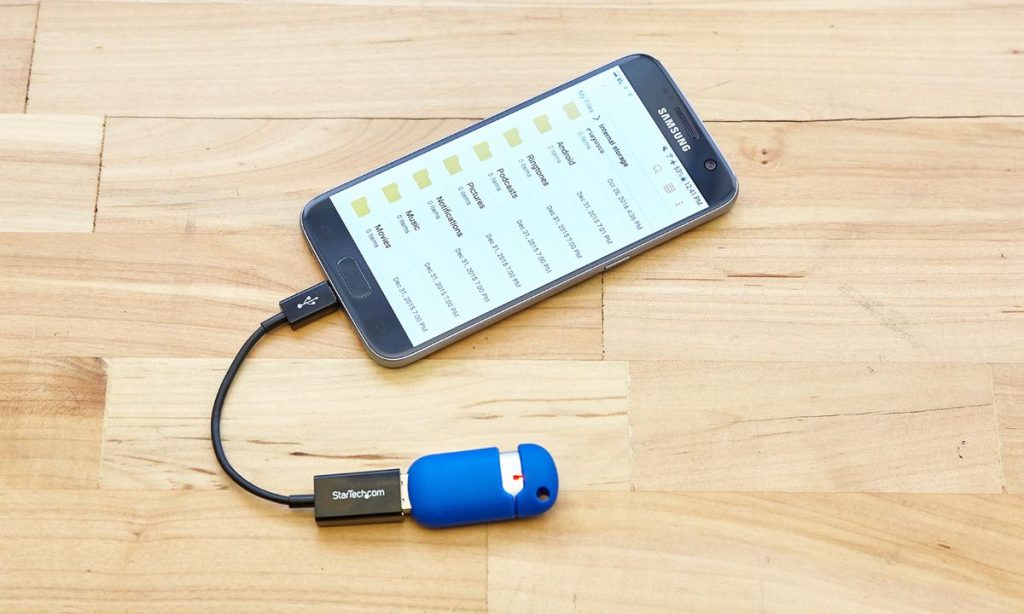
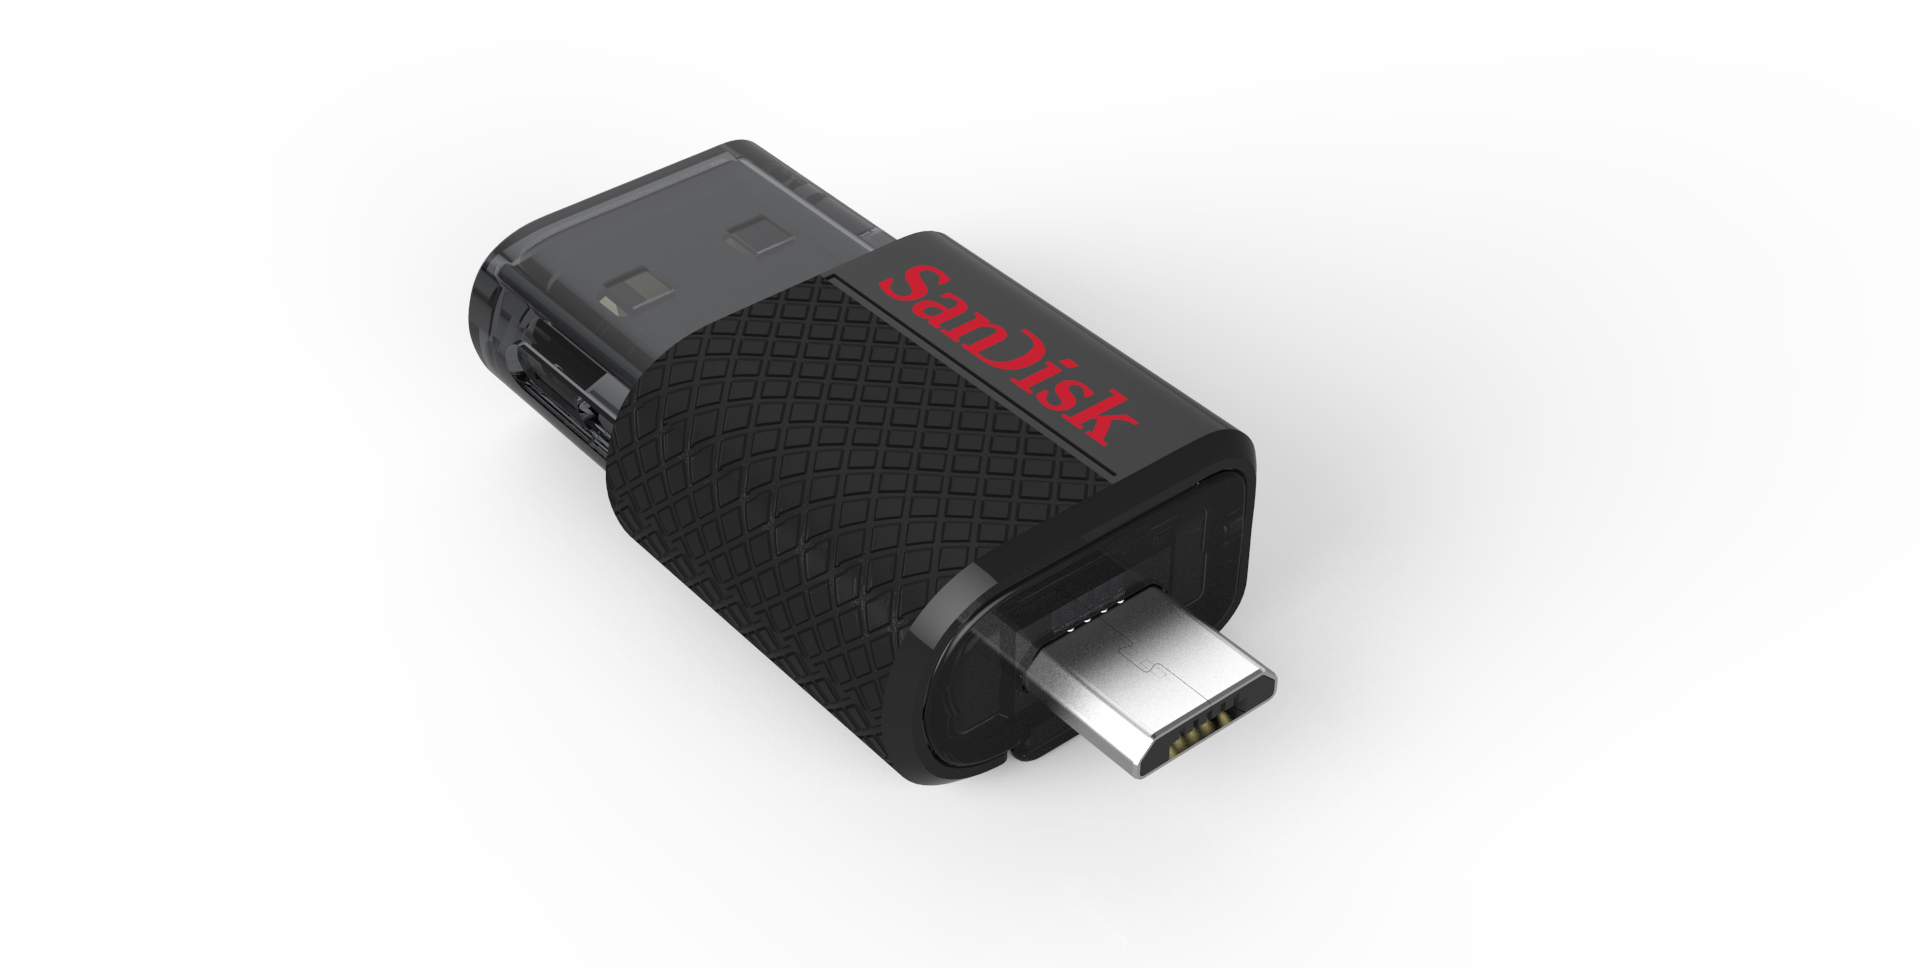
- A USB On-The-Go (OTG) adapter (optional): Some Android phones, especially newer models with USB-C ports, might not require an adapter. However, if your phone has a micro USB port, you’ll likely need an OTG adapter to connect the flash drive.
OTG Adapter Explained: This tiny device acts as a bridge, allowing your phone’s USB port to recognize and interact with the flash drive.

Making the Connection: Linking Phone and Flash Drive
-
Connect the USB flash drive: If your phone has a USB-C port, simply plug the flash drive directly into it. Otherwise, attach the USB flash drive to the OTG adapter and then connect the adapter to your phone’s micro USB port.
-
Granting Permissions: Your phone might prompt you for permission to access the USB flash drive. Grant this access to proceed.
Heads Up: The notification for allowing access might vary depending on your phone’s model and Android version. Look for a notification related to USB storage or file transfer.
Now that the connection is established, it’s time to locate your photos on your phone. Here’s how:
-
Open the File Manager app: This app typically comes pre-installed on most Android phones. If you can’t find it, search for “Files” or “File Manager” in your app drawer.
-
Finding the Photo Folder: Within the File Manager app, navigate to the folder where your photos are stored. Common locations include “Pictures,” “DCIM” (Digital Camera Images), or specific gallery app folders like “Gallery” or “Camera.”
Tip: If you’re unsure where your photos reside, you can explore different folders within the File Manager app until you find them.
Selecting Photos for Transfer: Choosing Your Memories
-
Browsing and Selecting: Once you’ve located your photo folder, browse through your pictures and choose the ones you want to transfer to the USB flash drive.
-
Single or Multiple Transfers: You can select individual photos by tapping on them or choose multiple photos by tapping and holding on one image, followed by tapping on additional photos to select them.
Pro Tip: To transfer all photos within a folder, navigate to the folder containing the desired pictures and tap on the three vertical dots in the top right corner. From the menu, select “Select all” and then proceed to the transfer steps below.
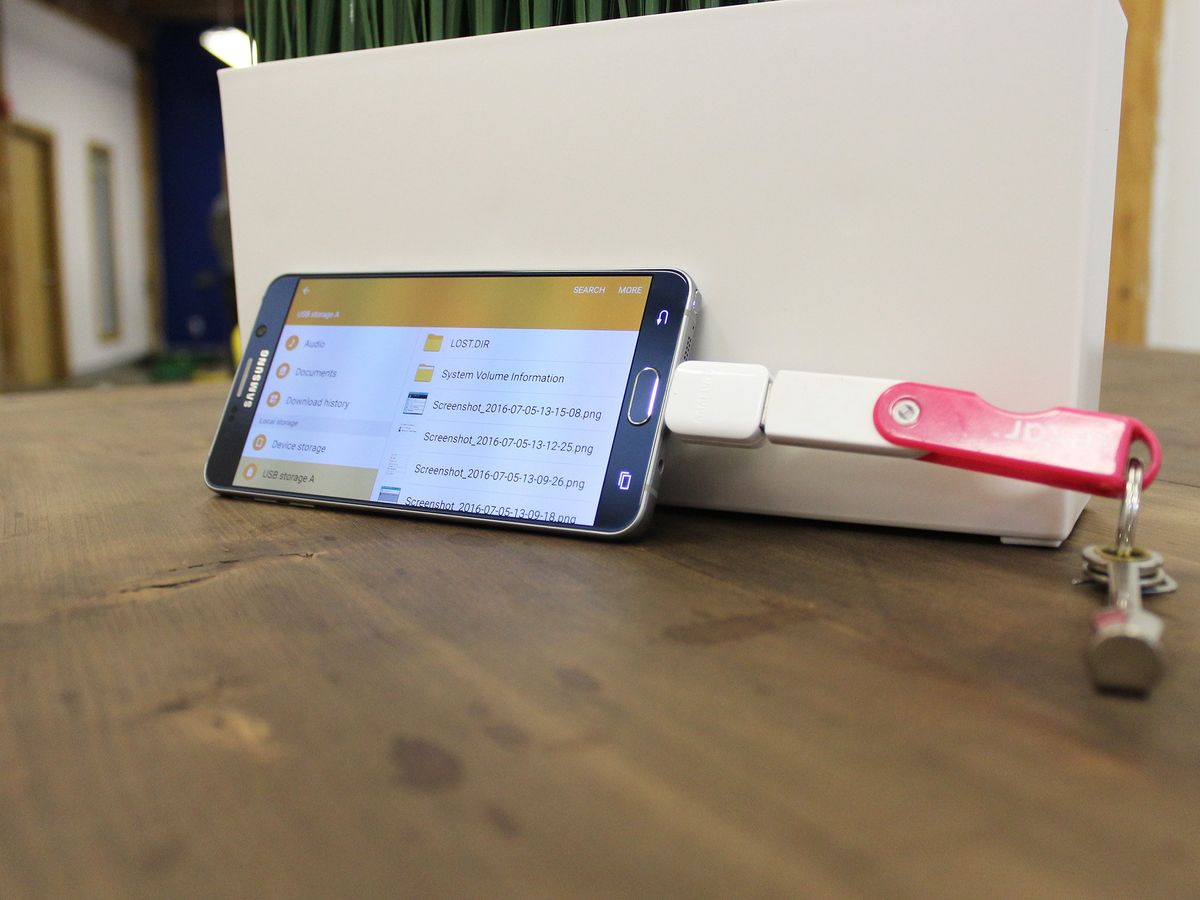
Open the USB flash drive to check if the pictures were successfully transferred
On Your Android Phone:
-
File Manager App: With the USB flash drive still connected to your phone, open the File Manager app you used earlier.
-
Locating the Flash Drive: Within the File Manager, navigate to the “USB storage” section or look for your flash drive’s specific name displayed. It might be listed under “External storage” or a similar category depending on your phone’s model.
-
Opening the Drive: Tap on the USB storage option or your flash drive’s name to open it.
-
Finding the Transferred Photos: Inside the flash drive, you should see a folder containing the photos you transferred. The folder name might be based on the date of transfer or the folder name you used during the transfer process (if applicable).
-
Verifying the Transfer: Open the folder and browse through the pictures. Ensure all the photos you transferred are present and appear correctly.
Alternatively, on a Computer:
If you have a computer available, you can also verify the transferred pictures:
-
Connect the USB Flash Drive: Insert the USB flash drive into a free USB port on your computer.
-
File Explorer/Finder: Open your computer’s file explorer (Windows) or Finder (Mac).
-
Locating the Drive: Look for the USB flash drive’s icon within the file explorer/finder window. It might be labeled with its brand name or storage capacity.
-
Opening and Verification: Double-click on the USB flash drive’s icon to open it. Navigate to the folder containing the transferred photos and verify their presence and quality.
By following these steps on your phone or computer, you can confirm that your precious photos have been successfully transferred to the USB flash drive.
Transferring Photos: Moving Your Memories to Safety
-
Initiating the Transfer: With your photos selected, look for the “Copy” or “Cut” option. This option might be located at the bottom of your screen or within the menu accessed by tapping the three vertical dots in the top right corner.
-
Choosing the Destination: After selecting “Copy” or “Cut,” navigate back to the main screen of the File Manager app. Here, you should see an option for “USB storage” or your flash drive’s specific name. Tap on this option to choose it as the destination for your photos.
-
Confirmation and Patience: A confirmation message might appear, asking you if you want to copy or move the selected photos. Choose your desired action (“Copy” to create a duplicate on the flash drive or “Move” to transfer the photos and remove them from your phone). Finally, be patient as the transfer process takes place. The transfer speed will depend on the number of photos and their file sizes.
Safety First: It’s recommended to choose “Copy” during the initial transfer. This ensures you have a backup copy on your phone in case of any errors during the transfer process. Once you’ve verified the successful transfer to the USB flash drive, you can then delete the photos from your phone’s storage if needed.