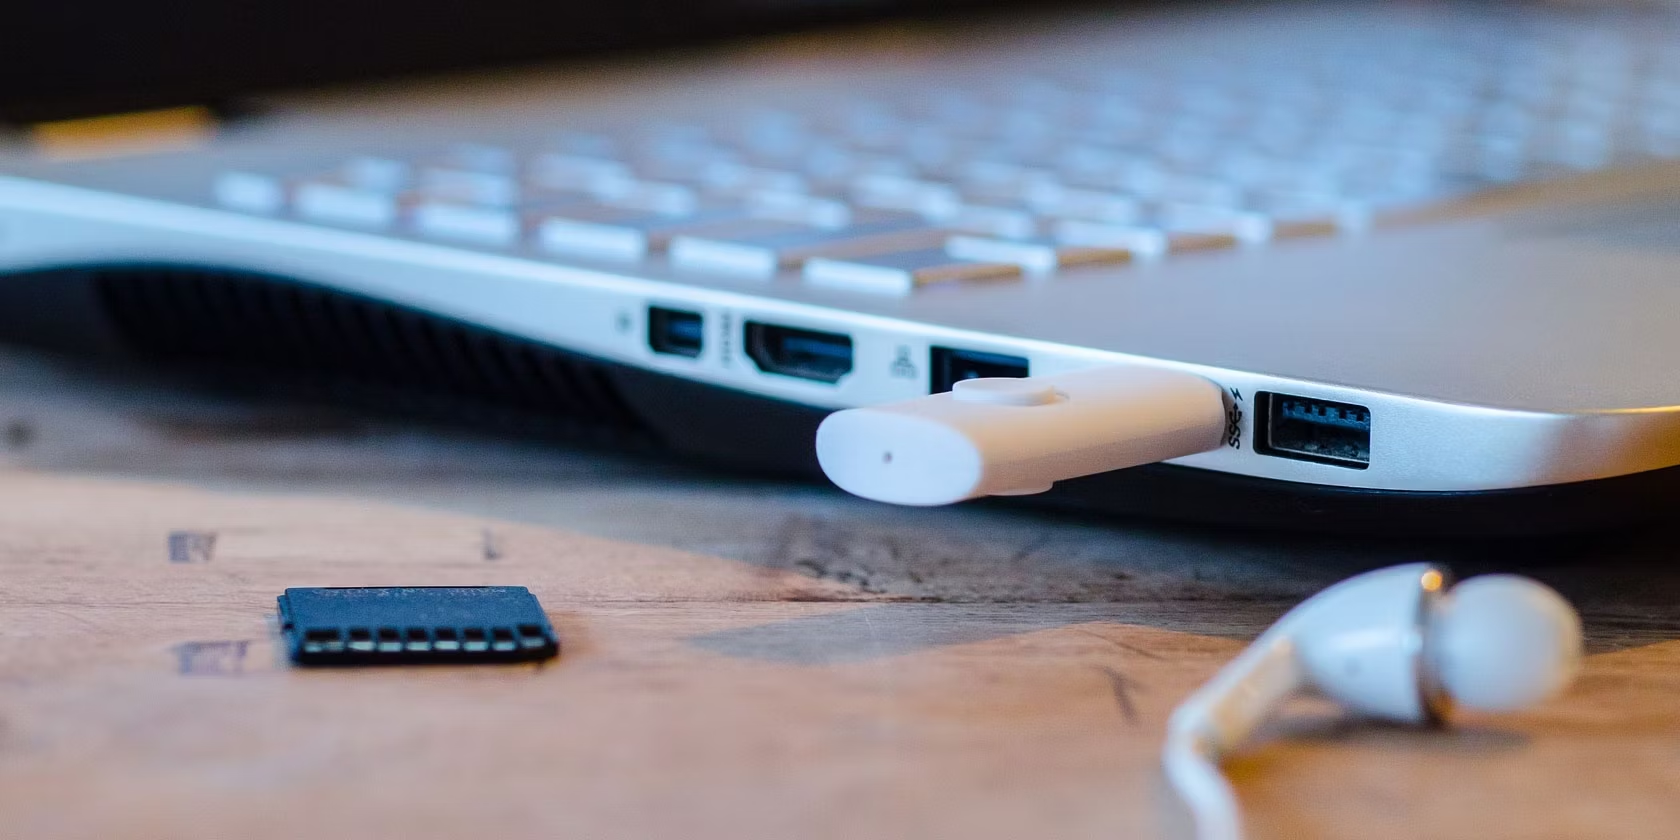
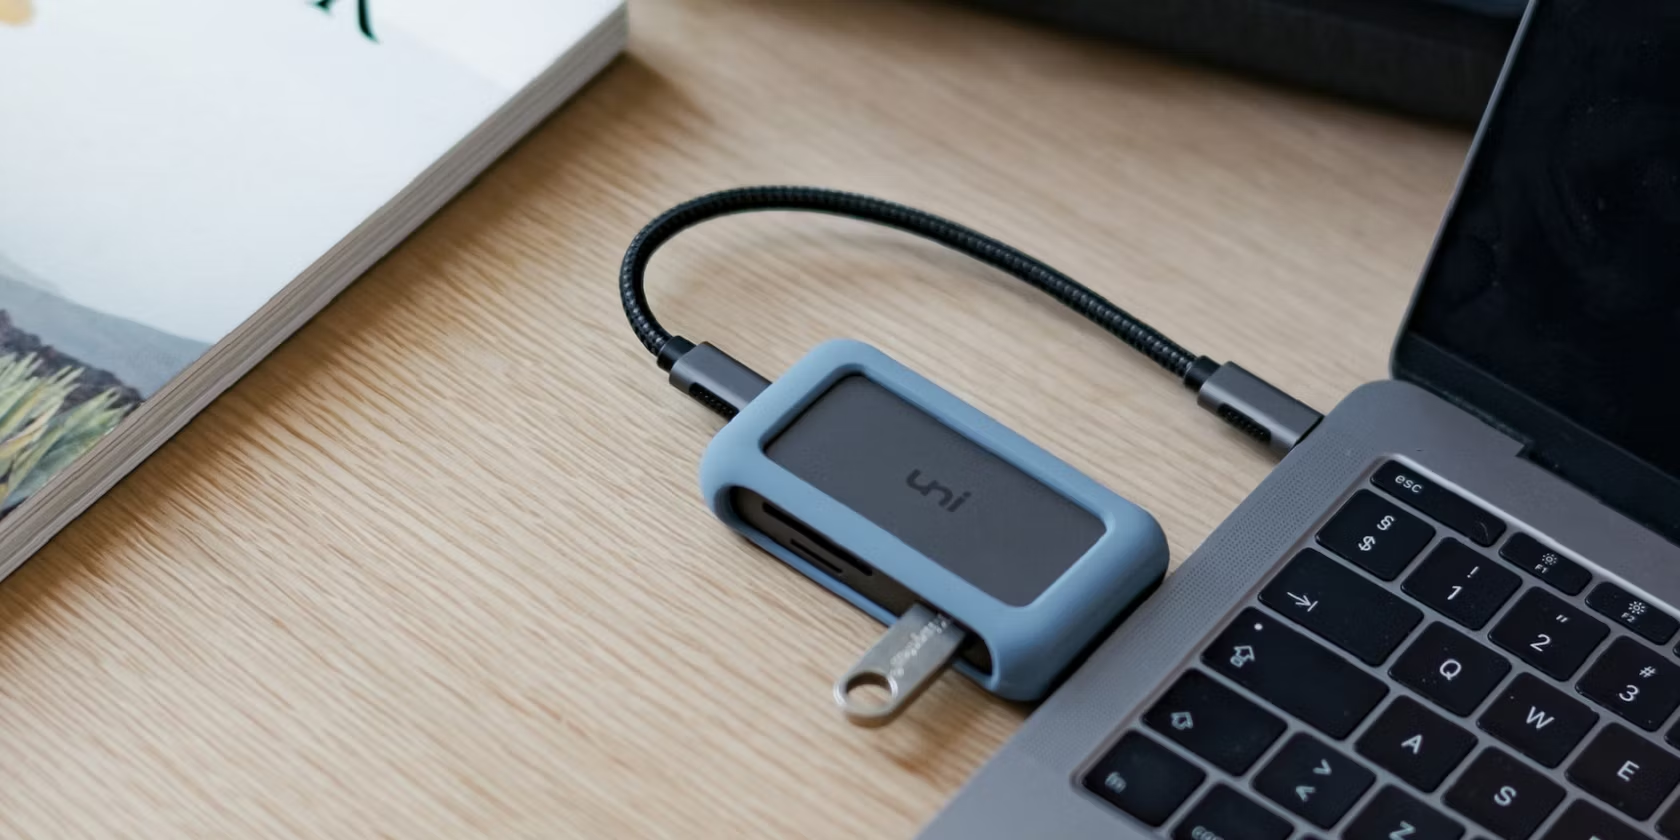
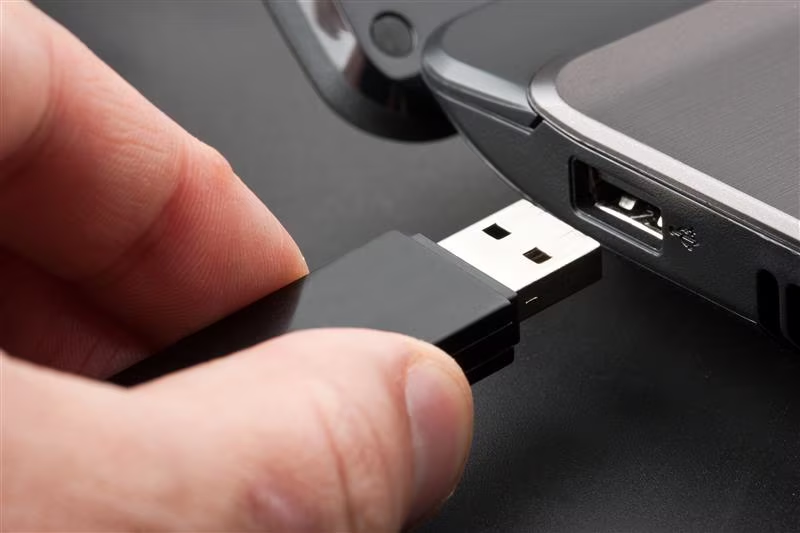
We’ve all been there. You excitedly reach for your USB flash drive, ready to transfer important files or access precious memories, only to be met with a sinking feeling. Your computer doesn’t recognize it. Don’t despair! Before resigning yourself to data loss, there are several steps you can take to try and revive your elusive USB drive.

The Usual Suspects: Simple Solutions
Oftentimes, the culprit behind an undetected USB drive is a surprisingly simple issue. Let’s tackle these easy fixes first:
-
Restart Your Computer: This age-old adage applies here too. A quick reboot can sometimes clear up temporary glitches that might be preventing your computer from recognizing the USB drive.
-
Try a Different USB Port: Not all USB ports are created equal. One port might be malfunctioning, while another functions perfectly. Plug your drive into a different port on your computer to see if that resolves the problem.
-
Switch Up the Cable: If you’re using an external cable to connect your USB drive, try using a different one. Faulty cables are a common cause of connection issues.
-
Test on Another Computer: This is a quick way to diagnose whether the problem lies with the USB drive itself or your computer’s USB ports. If the drive is detected on another computer, the issue is likely with your original machine.

Digging Deeper: Software Solutions
If the basic checks haven’t yielded any results, it’s time to delve a bit deeper. Here are some software-based solutions you can explore:
-
Update Drivers: Outdated or corrupted USB drivers can prevent your computer from recognizing the drive. Updating your drivers is a relatively straightforward process. In Windows, you can access Device Manager and search for “Universal Serial Bus controllers”. Right-click on each controller and select “Update driver”.
-
Change Drive Letter: In rare instances, a drive letter conflict can cause detection problems. You can attempt to change the drive letter assigned to your USB flash drive. In Windows, access Disk Management (search for “create and format hard disk partitions”). Locate your USB drive, right-click, and select “Change Drive Letter and Paths…”.
-
Scan for Disk Errors: File system errors on the USB drive itself can also lead to detection issues. Both Windows and macOS offer built-in tools to check and repair disk errors. In Windows, right-click on the drive in File Explorer, select “Properties”, then “Tools”, and finally “Check”. On macOS, you can use the Disk Utility application to perform a repair.

Formatting the Drive: A Last Resort
If none of the above solutions have worked, formatting the drive might be the final option. This will erase all data on the drive, so proceed with caution and only if you’re confident the data is not recoverable.
-
Formatting in Windows: In File Explorer, right-click on the drive and select “Format…”. Choose a file system (FAT32 for broad compatibility, exFAT for larger files) and a volume label (optional), then click “Start”.
-
Formatting on macOS: Open Disk Utility (search for “Disk Utility” in Spotlight). Select your USB drive, then click the “Erase” button. Choose a name for the drive and a file system (exFAT for best compatibility between macOS and Windows), then click “Erase”.

Data Recovery (Optional):
If formatting the drive was unavoidable and you require the lost data, data recovery software might be an option. However, success is not guaranteed, especially if the drive was physically damaged. Before attempting data recovery, it’s crucial to stop using the drive to prevent further data loss. Research data recovery software options and choose one with a good reputation.
Preventive Measures to Avoid USB Detection Issues
A healthy dose of prevention is always better than the cure, especially when it comes to your precious USB flash drive. Here are some key steps you can take to minimize the chances of encountering detection problems in the future:
-
Safely Eject, Always: This might seem obvious, but it’s worth reiterating. Before physically removing your USB drive, always use the “Safely Remove Hardware” function (Windows) or eject the drive icon (macOS). This ensures all data transfer is complete and prevents potential file system corruption.
-
Become a “Case Keeper”: Invest in a sturdy case for your USB drive. This will shield it from dust, moisture, and extreme temperatures – all potential enemies of data integrity and functionality.
-
Quality Counts: When purchasing a new USB drive, resist the urge to go for the absolute cheapest option. Opt for reputable brands known for their reliability. While a higher price tag doesn’t guarantee complete immunity to issues, it can significantly decrease the risk of premature failure.
-
Power Up (if applicable): For certain external hard drives that require additional power, ensure you’re using the correct power source. A lack of sufficient power can lead to detection problems.
-
Update Regularly: Just like your computer’s operating system, USB drivers can become outdated. Regularly checking for and installing driver updates can help prevent compatibility issues that might cause detection problems.
-
Minimize Writes: While USB drives are designed for data transfer, constantly writing and rewriting data can shorten their lifespan. If possible, consider using cloud storage or an external hard drive for frequently accessed files.
-
Beware of Unknowns: Avoid plugging your USB drive into unknown computers, especially public ones. These machines might have malware that could compromise your data security.
By incorporating these preventive measures into your USB drive routine, you’ll significantly decrease the chances of encountering detection issues down the line. Remember, a little extra care goes a long way in safeguarding your valuable data.

Safely eject the USB flash drive before disconnecting
You’re absolutely right. Safely ejecting the USB flash drive before disconnecting it is crucial. Here’s why:
-
Data Integrity: When you transfer files to or from a USB drive, the data is written electronically. Safely ejecting the drive signals to your computer that the transfer process is complete. Disconnecting without ejecting could interrupt this process, leading to incomplete data transfer and potentially corrupted files.
-
File System Health: The process of safely ejecting the drive also allows your computer’s operating system to finalize any housekeeping tasks related to the drive. This helps maintain the health of the file system on the USB drive and prevents potential errors in the future.
So, how do you safely eject a USB drive? The process is simple:
-
Windows: In File Explorer, locate your USB drive, right-click on it, and select “Eject”. Alternatively, you can use the “Safely Remove Hardware” icon in the taskbar notification area.
-
macOS: Drag the USB drive icon on your desktop to the Trash bin. The Trash bin will change to an eject symbol, indicating it’s safe to remove the drive.
Making safely ejecting a habit will help protect your data and ensure the longevity of your USB flash drives.
Preventing Future Frustration
Here are some tips to help safeguard your USB flash drives and avoid future detection issues:
- Safe Eject: Always use the “Safely Remove Hardware” function (Windows) or eject the drive icon (macOS) before physically removing the USB drive. This ensures all data transfer is complete and prevents potential file system corruption.
- Proper Storage: Keep your USB drives in protective cases when not in use to shield them from dust, moisture, and extreme temperatures.
- Quality Matters: Invest in reputable brands when purchasing USB flash drives. Cheaper, generic drives might be more prone to failure.
By following these steps and best practices, you’ll be well-equipped to tackle undetected USB drive issues and hopefully revive your precious data. Remember, if the problem persists or you suspect physical damage to the drive, consulting a professional data recovery service might be necessary.


