The Nintendo Switch is a fantastic console, offering both portability and home console experiences. However, its internal storage can fill up quickly, especially with today’s ever-growing game sizes. This is where microSD cards come in – a simple and affordable way to significantly expand your Switch’s storage capacity.
But if you’re new to microSD cards, you might be wondering: where exactly does this card go? Don’t worry, this guide will walk you through everything you need to know about using microSD cards with your Nintendo Switch, from finding the slot to choosing the right card for your needs.
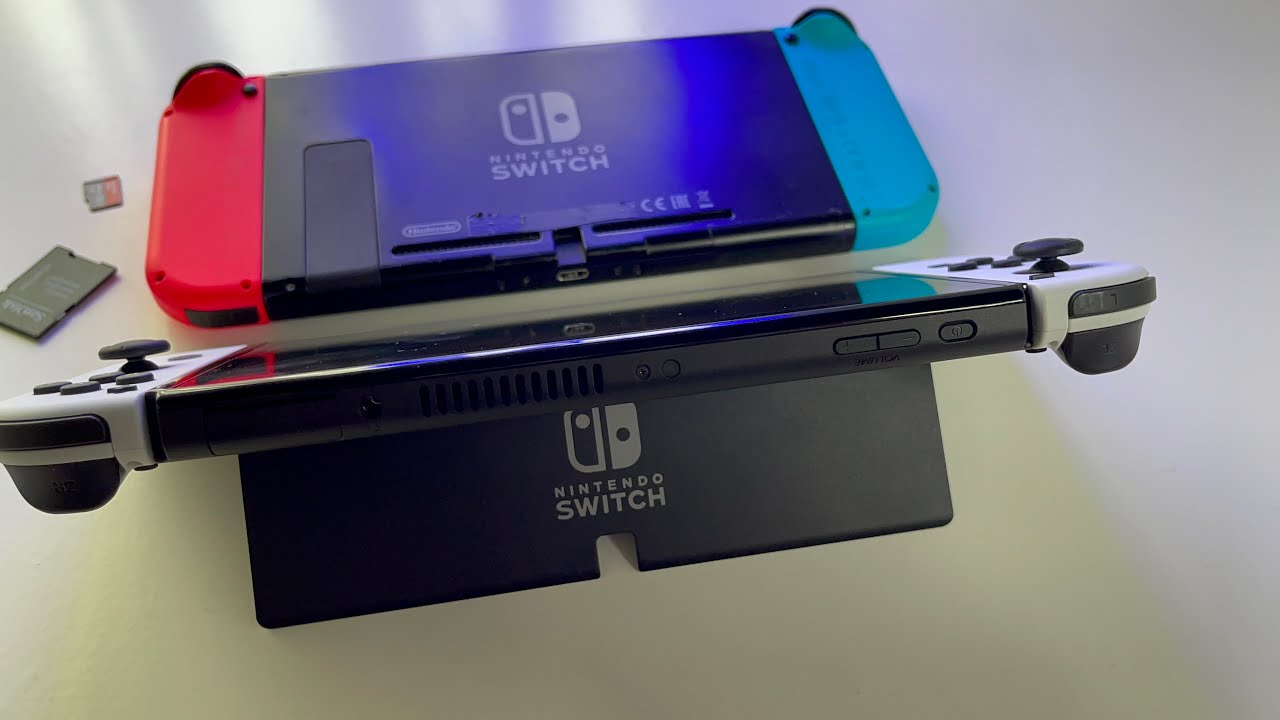
Locating the microSD Card Slot
The microSD card slot on your Nintendo Switch is cleverly hidden. Here’s how to find it:
- Power down your Switch completely for safety.
- Flip the console over so the back is facing you.
- Locate the kickstand – the small, adjustable piece of plastic on the bottom of the console.
- Gently flick the kickstand open to reveal a compartment underneath. This is where the microSD card slot is located.
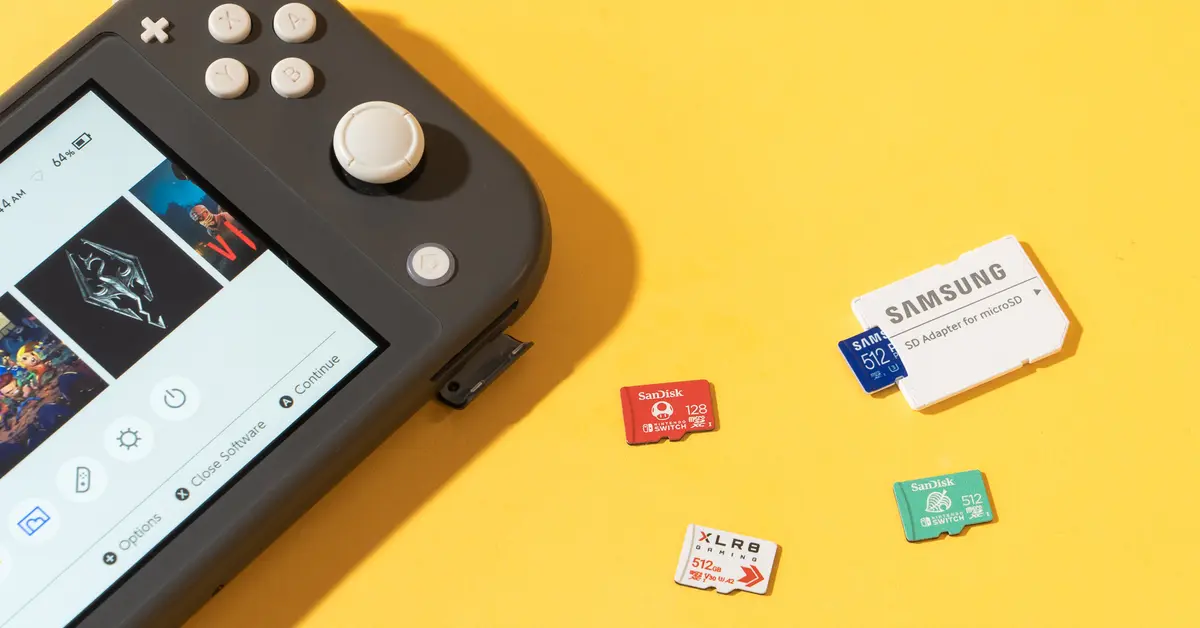
On the Nintendo Switch Lite, the process is even simpler. The microSD card slot is conveniently located on the bottom right side of the console, accessible with a small flap.
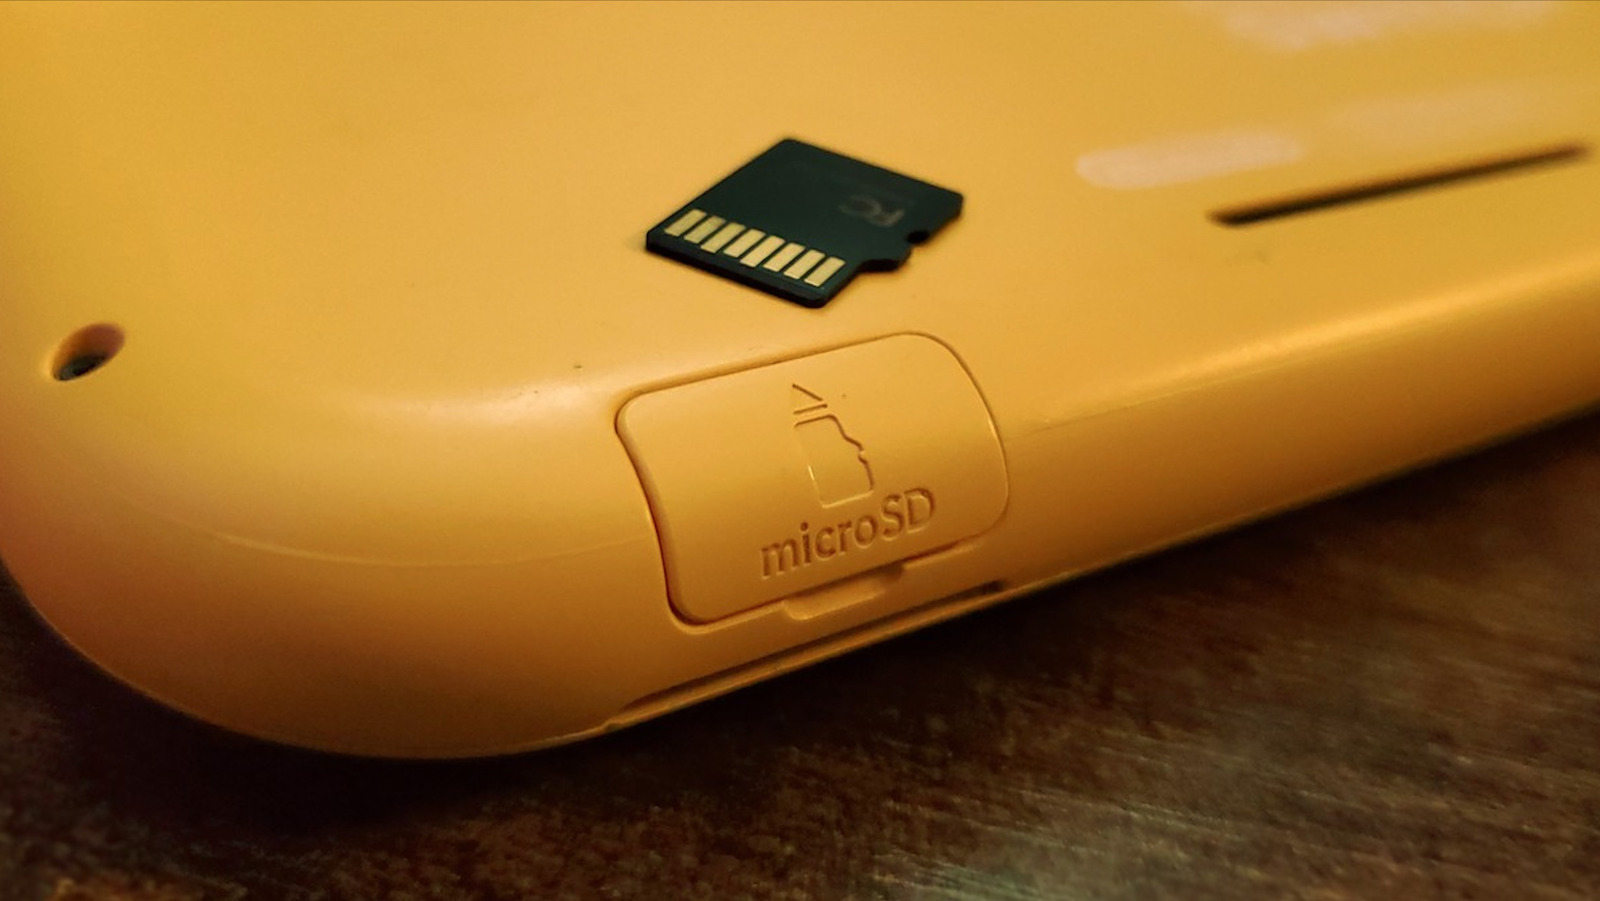
Inserting the microSD Card
Once you’ve found the microSD card slot, it’s time to insert your card. Here are some key points to remember:
- microSD cards are small and fragile. Handle them with care to avoid bending or damaging the contacts.
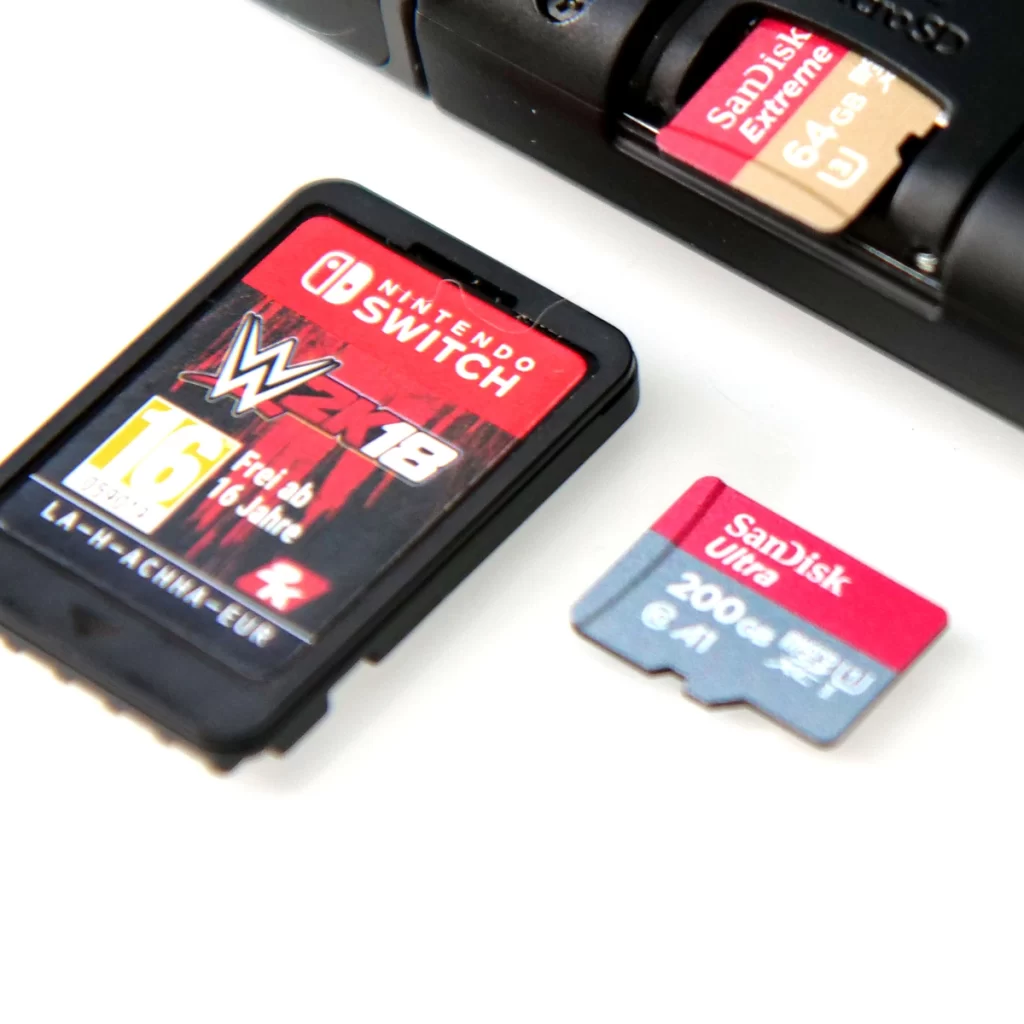
- The card has a specific orientation. Look for the tiny notch on one corner of the card. This notch should be facing downward when inserting the card into the Switch.
- Gently push the card into the slot until you hear a soft click. This indicates that the card is properly seated.
Choosing the Right microSD Card for Your Switch
There are many microSD cards available on the market, so how do you choose the right one for your Switch? Here are some factors to consider:
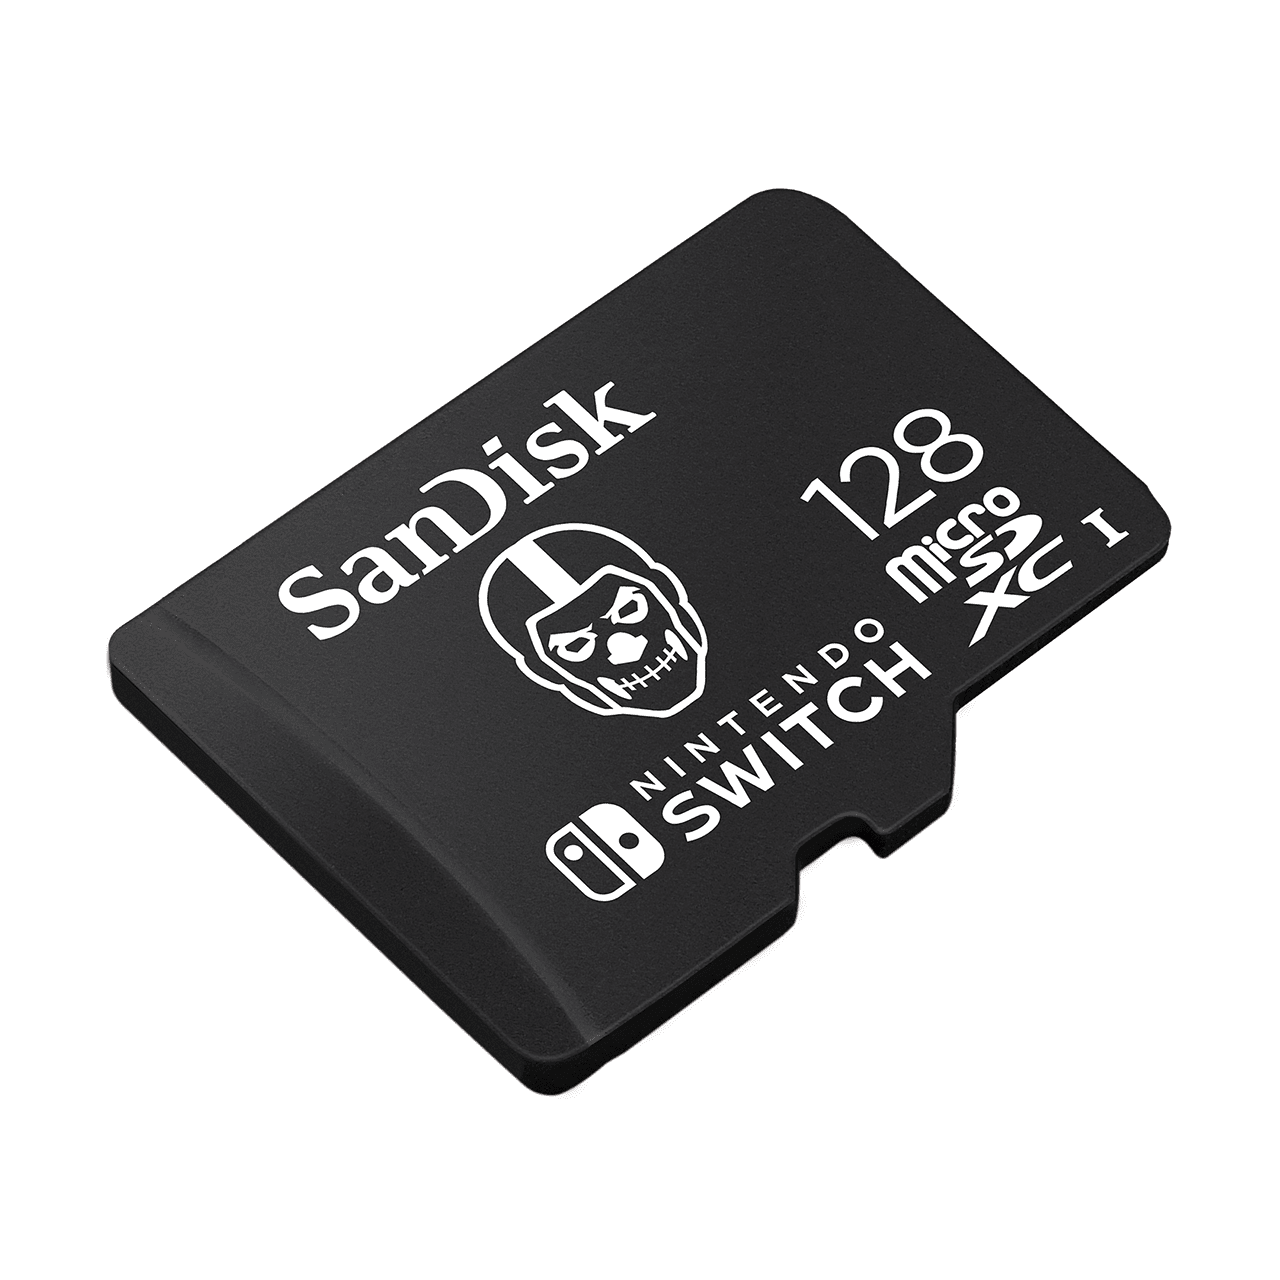
- Storage Capacity: This is the most crucial factor. Games can range in size from a few gigabytes (GB) to well over 50 GB. Consider your gaming habits and how many games you typically keep installed at once. Common microSD card sizes include 64GB, 128GB, 256GB, and even 1 TB.
- Speed: microSD cards come with different speed ratings, indicated by class numbers and UHS (Ultra High Speed) symbols. While not essential for all games, a faster card can improve loading times and overall performance. Look for cards with a UHS-I rating for optimal compatibility with the Switch.
Formatting the microSD Card
Before you can use your new microSD card with your Switch, it needs to be formatted. This process erases any existing data on the card and prepares it to work with the Switch’s operating system.
- Turn on your Nintendo Switch and access the System Settings menu.
- Scroll down and select Storage.
- Choose Format microSD Card.
- Follow the on-screen instructions to complete the formatting process.
Taking Advantage of Your Expanded Storage
With your microSD card inserted and formatted, you’re ready to reap the benefits of increased storage! Now, when you download games or save data, the Switch will automatically use the microSD card if there’s not enough space on the internal storage.
Here are some additional tips for managing your Switch’s storage:
- Keep track of what’s installed. You can view a list of all your downloaded games and applications in the System Settings menu under Storage. This allows you to easily identify and delete games you no longer play to free up space.
- Move data between storage options. You can transfer save data and game downloads between the internal storage and the microSD card. This is helpful if you need to free up space on the internal storage for new games.
Provide instructions on how to properly open the memory card slot cover without causing damage.
For the Original Nintendo Switch and Switch OLED:
- Power down your Switch completely. This is important to avoid any data corruption.
- Locate the kickstand on the bottom of the console.
- Hold the Switch firmly with one hand.
- Use your fingernail or a thin, flat tool (like a credit card) to carefully pry open the small flap at the base of the kickstand. Do not use sharp objects that could scratch the console.
- Once the flap is slightly open, gently pull the kickstand away from the console body. The memory card slot will be revealed underneath.
For the Nintendo Switch Lite:
- Power down your Switch completely.
- Locate the small flap on the bottom right side of the console.
- Use your fingernail to gently pry open the flap. The microSD card slot will be accessible underneath.
General Tips:
- Be gentle: Avoid using excessive force when opening the cover.
- Use proper tools: Don’t use your fingernails if they’re too long or sharp, as they could damage the cover. Opt for a thin, flat tool like a credit card instead.
- Open it straight: Ensure you’re pulling the flap or kickstand straight up to avoid putting undue stress on the hinge.
By following these steps, you can easily access the memory card slot on your Nintendo Switch without causing any damage.
Close the memory card slot cover
Here’s how we can add the instruction to close the memory card slot cover:
After verifying that the microSD card has been recognized, gently push the memory card slot cover back into place until it clicks shut.
Make sure the cover sits flush with the console for a secure fit. Now you’re all set to enjoy the expanded storage on your Nintendo Switch!
Instruct the user to power on the Switch and verify that the memory card has been recognized.
After inserting the microSD card and ensuring it clicks into place, power on your Nintendo Switch.
Once the Switch boots up completely, navigate to the System Settings menu. You can find this by selecting the gear icon on the main menu.
Within System Settings, look for the Storage option. This will display a breakdown of your storage usage on both the internal memory and the microSD card (if recognized).
If the microSD card is recognized, you should see its total capacity and the amount of free space available. Additionally, some games might even display an option to directly download them to the microSD card.
If you don’t see the microSD card listed, don’t worry! The guide can walk you through some troubleshooting steps to get it working.
By utilizing microSD cards, you can significantly expand your Nintendo Switch’s storage capacity, allowing you to download and play more games without worrying about running out of space. With a little knowledge about microSD cards and their functionalities, you can easily enhance your Switch gaming experience and keep your favorite titles readily available. So, happy gaming!